Rest Registry
What’s in the Box?
The Blackboard developer portal is located at https://developer.blackboard.com There, you can:
- Sign up for a Developer Account
- Read API Reference Documentation
- Register a REST Application or an LTI Tool
- Delete an application
Sign up for a Developer Account
Blackboard Learn integrations begin at the Developer Portal. This is where you register applications and get an application ID, key/secrets, and other vital information. In the portal, you can see which client systems are using the integrations. Signing up is free, and you can develop your integration at no cost. There may be cost involved in deploying your integration, but before that happens, you’ll speak with us and we’ll provide further guidance. To discuss deploying your application, please contact the developer experience team at developers@blackboard.com.
You don’t have to register right away, but before you can authenticate your project so it works with Blackboard applications, you will need to be registered.
To register as a Blackboard developer:
- Go to https://developer.blackboard.com and select Sign Up. Read and agree to the terms and conditions.
- Provide your email address, a password, your first name and last, and select the checkbox to prove you are human.
- Select Create Account and you’re on your way.
Note: If you are a Blackboard client - a Blackboard Partner / Vendor / Developer of a REST Application should NEVER tell you to go to the developer portal and create an App ID with the associated key/secret to install their application. They should never tell you to apply for a Rate/Site increase for their application. Blackboard DOES NOT support that model. Every REST Application developer should give you an App ID to install their REST App and tell you how to configure a system role for it’s use. Period. The REST Application developer needs to request the increases they need to run their application themselves. If they ask you to go to developer.blackboard.com and get an App ID/Key/Secret, please tell them that is wrong. They should have exactly one App ID for their production REST application that they are asking you to install.
Read API Reference Documentation
To view the API reference documentation go to https://developer.blackboard.com and select Explore APIs.You can also browse code examples and participate in the developer community site.
Register a REST Application or an LTI Tool
Before you can release an application or tool to the Blackboard ecosystem, you must first register as a Blackboard developer by creating a developer account. To register as a blackboard developer, see Sign up for a Developer Account above.
To register an application or LTI tool:
- Select Register below the heading “Register and Manage Your Applications”.
If you do not already have any registered applications, you will see a screen like the one shown below.
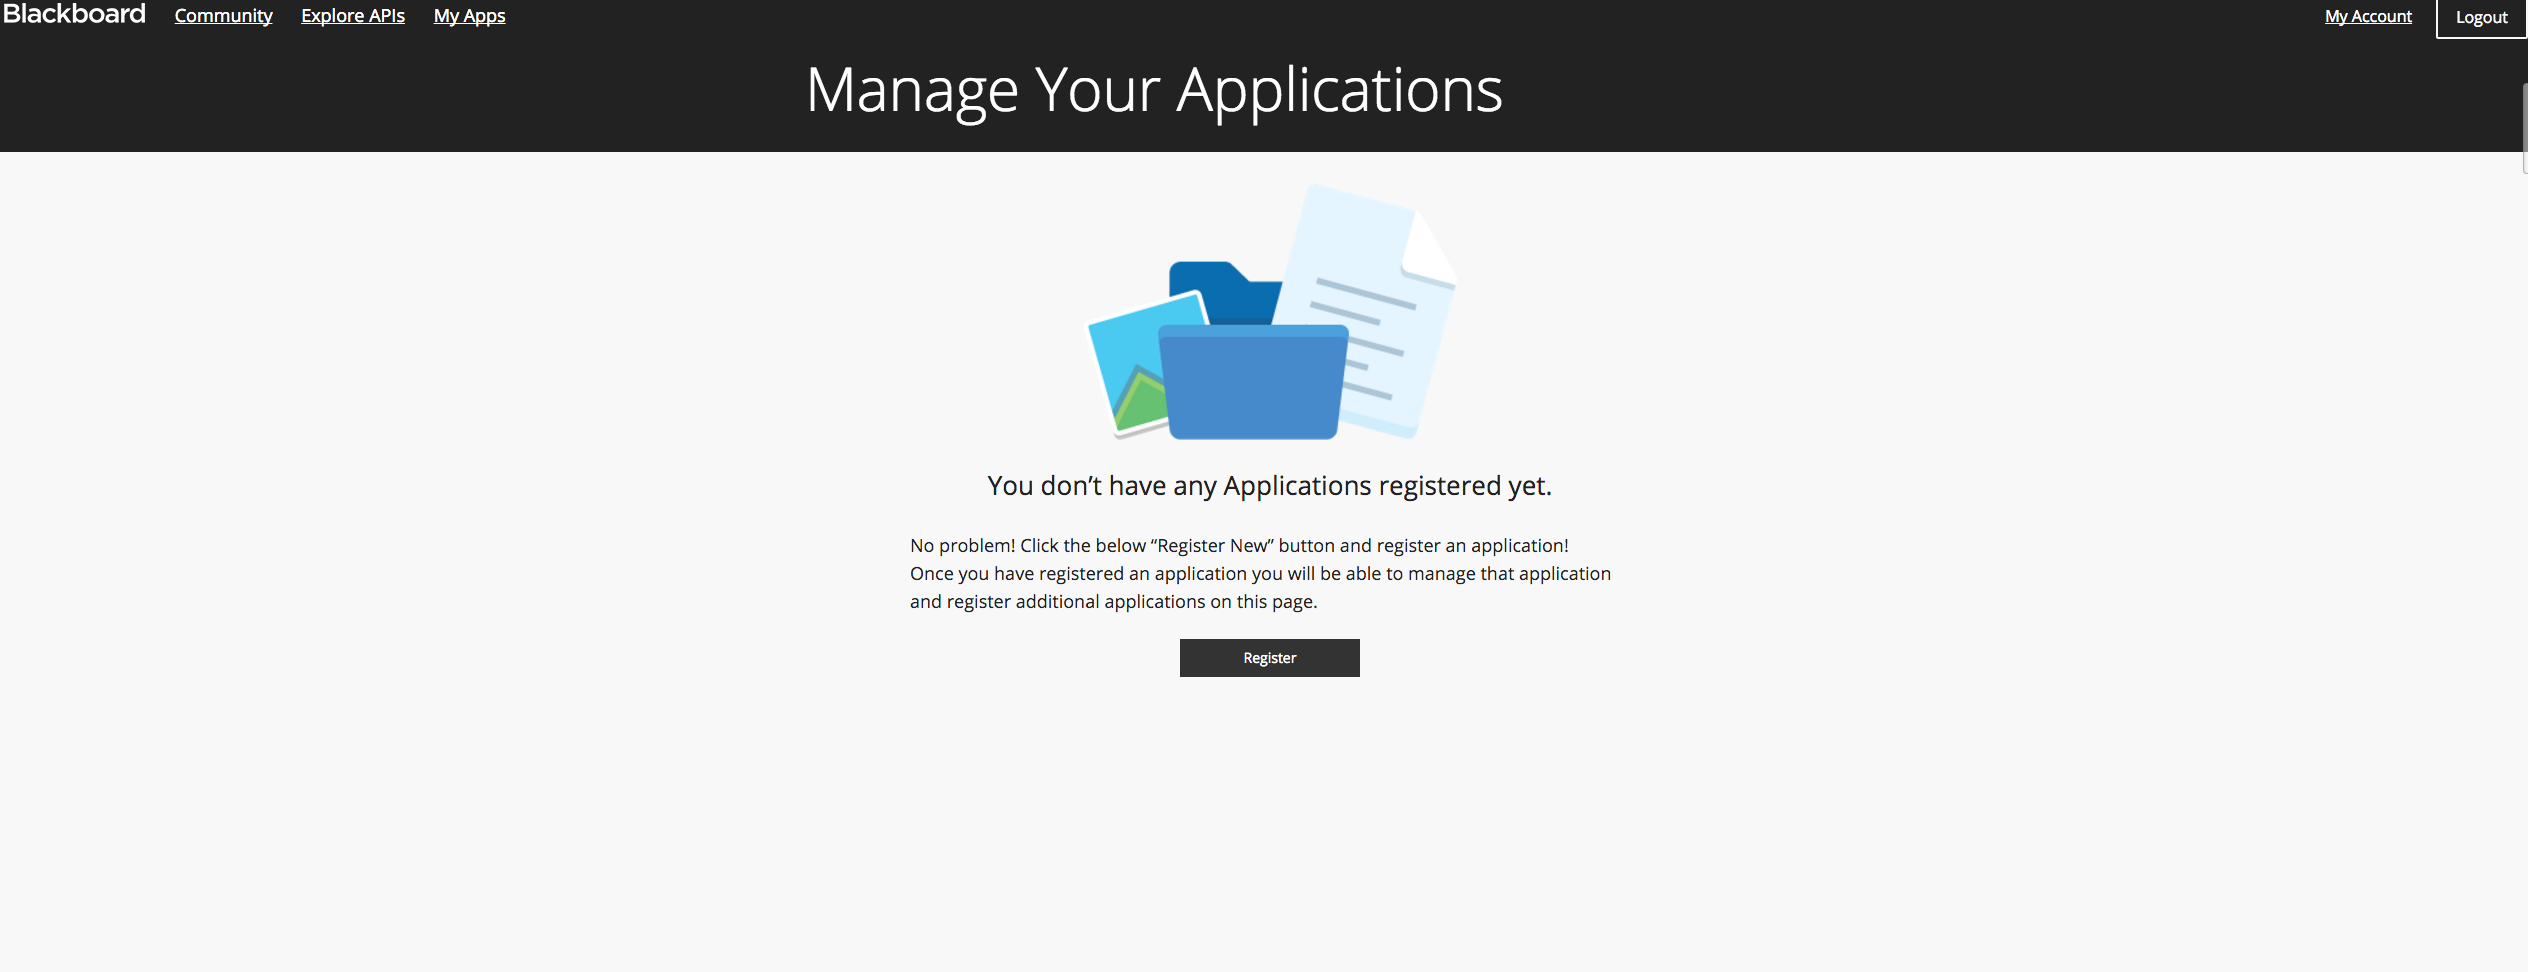
If you do not already have any applications registered, select Register.
Otherwise you will see a list of your registered applications. Select the + button to register a new one.
-
By default, the first available development group is named after the user creating the app. You can change this later. The following fields are required.
- For REST and LTI 1.1 applications, provide:
- Name and Description for your application and select a Group to work on the project
- a comma-separated white list of one or more Domain(s) that can use the app’s key/secret to access Blackboard applications
- For LTI 1.3 tools, complete all fields.
- For REST and LTI 1.1 applications, provide:
- Select Save. Learn displays your application’s name and description to Learn administrators when they connect your application to their system. This helps them make sure they have found the intended application.
- Write down or copy-and-paste the Application Key and Secret and other information that you are provided. Your application needs this key and secret to authenticate with Blackboard Learn. Blackboard does not keep any record of these properties. If you lose them, Blackboard cannot help you restore them.
- Select Continue.
Delete an application
When you login after having created applications, you will see them listed under My Applications.To delete an application:
- Mouse over the its record in the Your Applications list. A delete icon appears.
- Confirm your choice by selecting Delete Application. The application is removed from your list of applications and is no longer registered to the Blackboard cloud.