Ultra Proctoring Service Integration - IMS Proctoring Spec + UEF
Overview
There are many proctoring solutions available in the market today. Our clients license a variety of these services and would like to continue to use them in Ultra. Given the sheer number of proctoring services out there, it is not feasible for Blackboard to build and maintain customized integrations with each one. Therefore there was a need for us to develop a solution that would allow all proctoring solutions to be able to integrate with Ultra.
Frameworks and Specifications
Ultra Extension Framework: This solution utilizes Ultra Extension Framework, allowing proctoring services to render settings directly inside of Ultra assessment settings. This provides a uniform experience for instructors as proctoring settings are now amongst other settings.
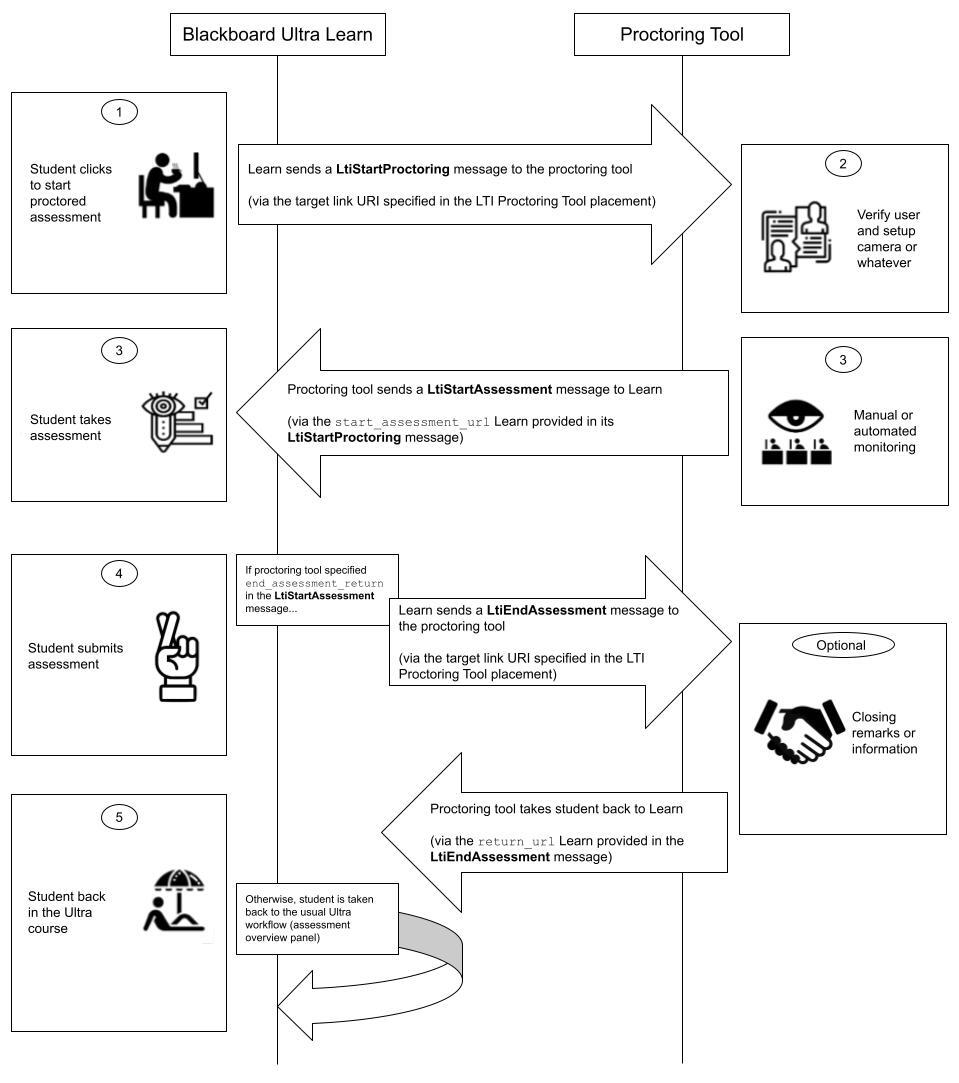
IMS Proctoring Specification: IMS global recently released V1 of a proctoring spec. This spec is built on top of LTI and provides a baseline for how assessment platforms communicate with proctoring services. As part of this solution, Learn has been updated (and certified by IMS) to support this spec and utilize it for proctoring. Below is a diagram outlining the spec:
Configuration
LTI Tool
Each proctoring provider will need to create an account on the Dev Portal and register an application. Follow the steps below:
Create a new group for your organization
- Click “My Groups” in the header
- Click “Create new group”
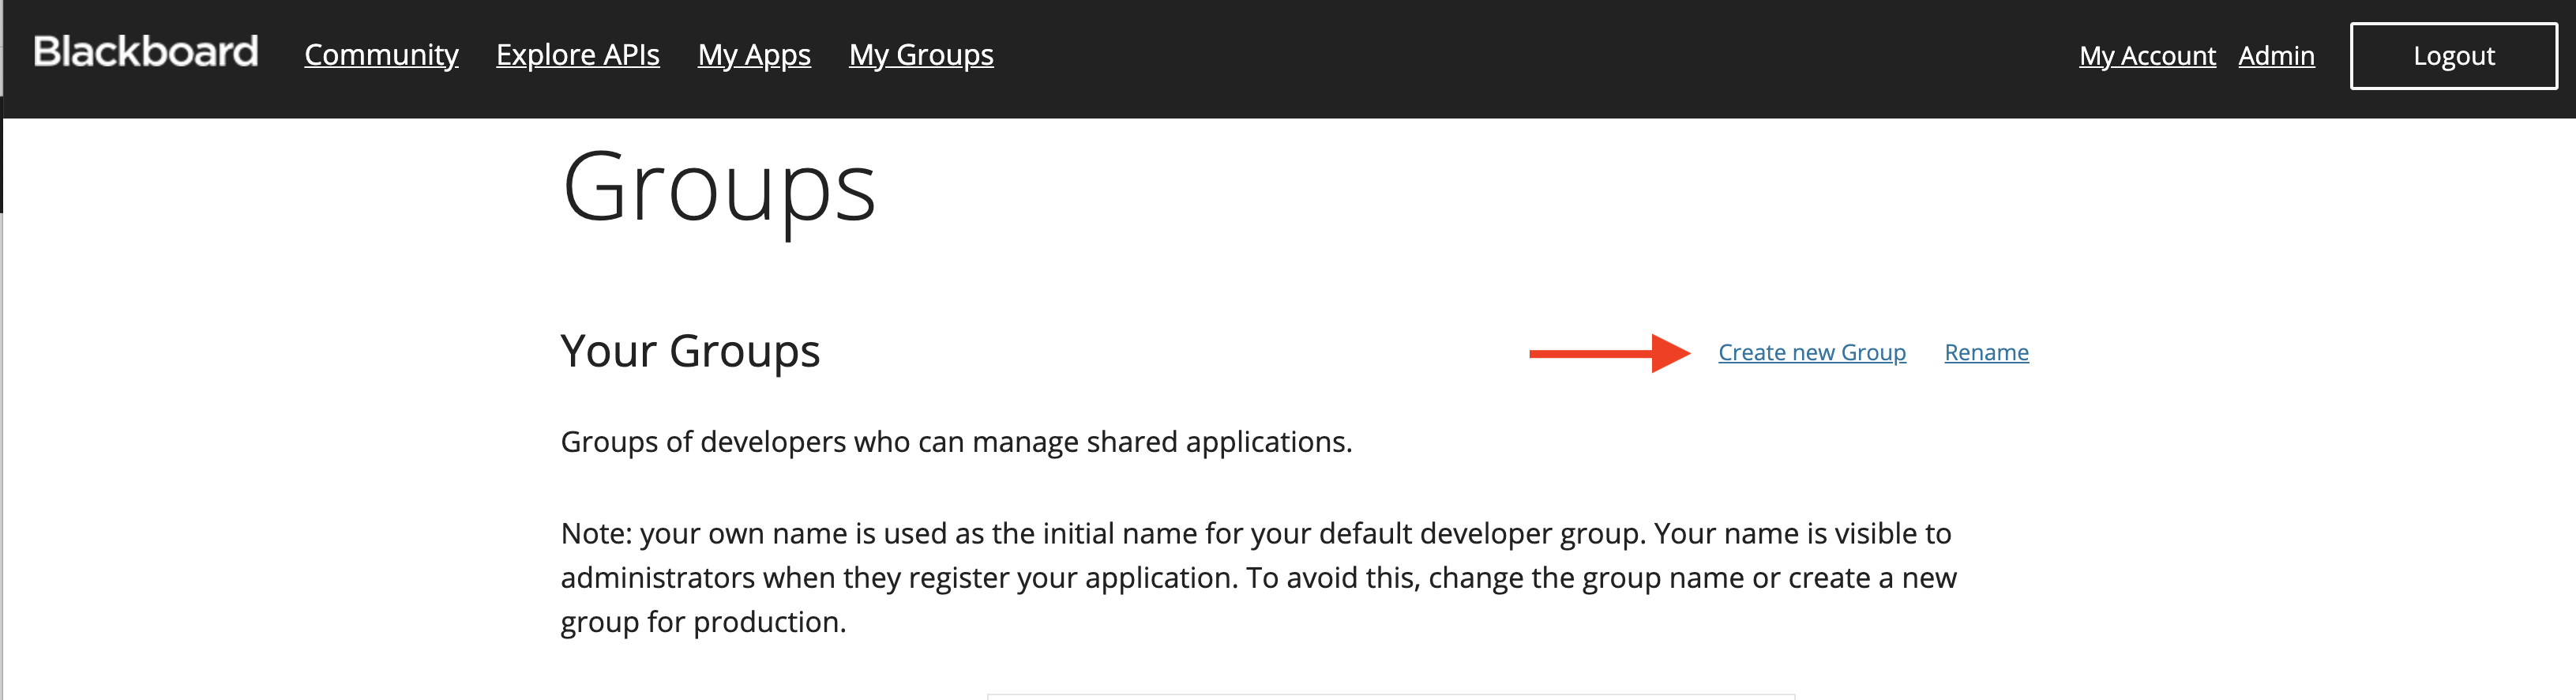
- Enter your organization name as the group name
Note: Ultra Extension Framework requires Premium API Access. This will need to be granted to your group by a dev portal administrator.
Register a new application (if you do not already have one)
- Click + sign to add a new application
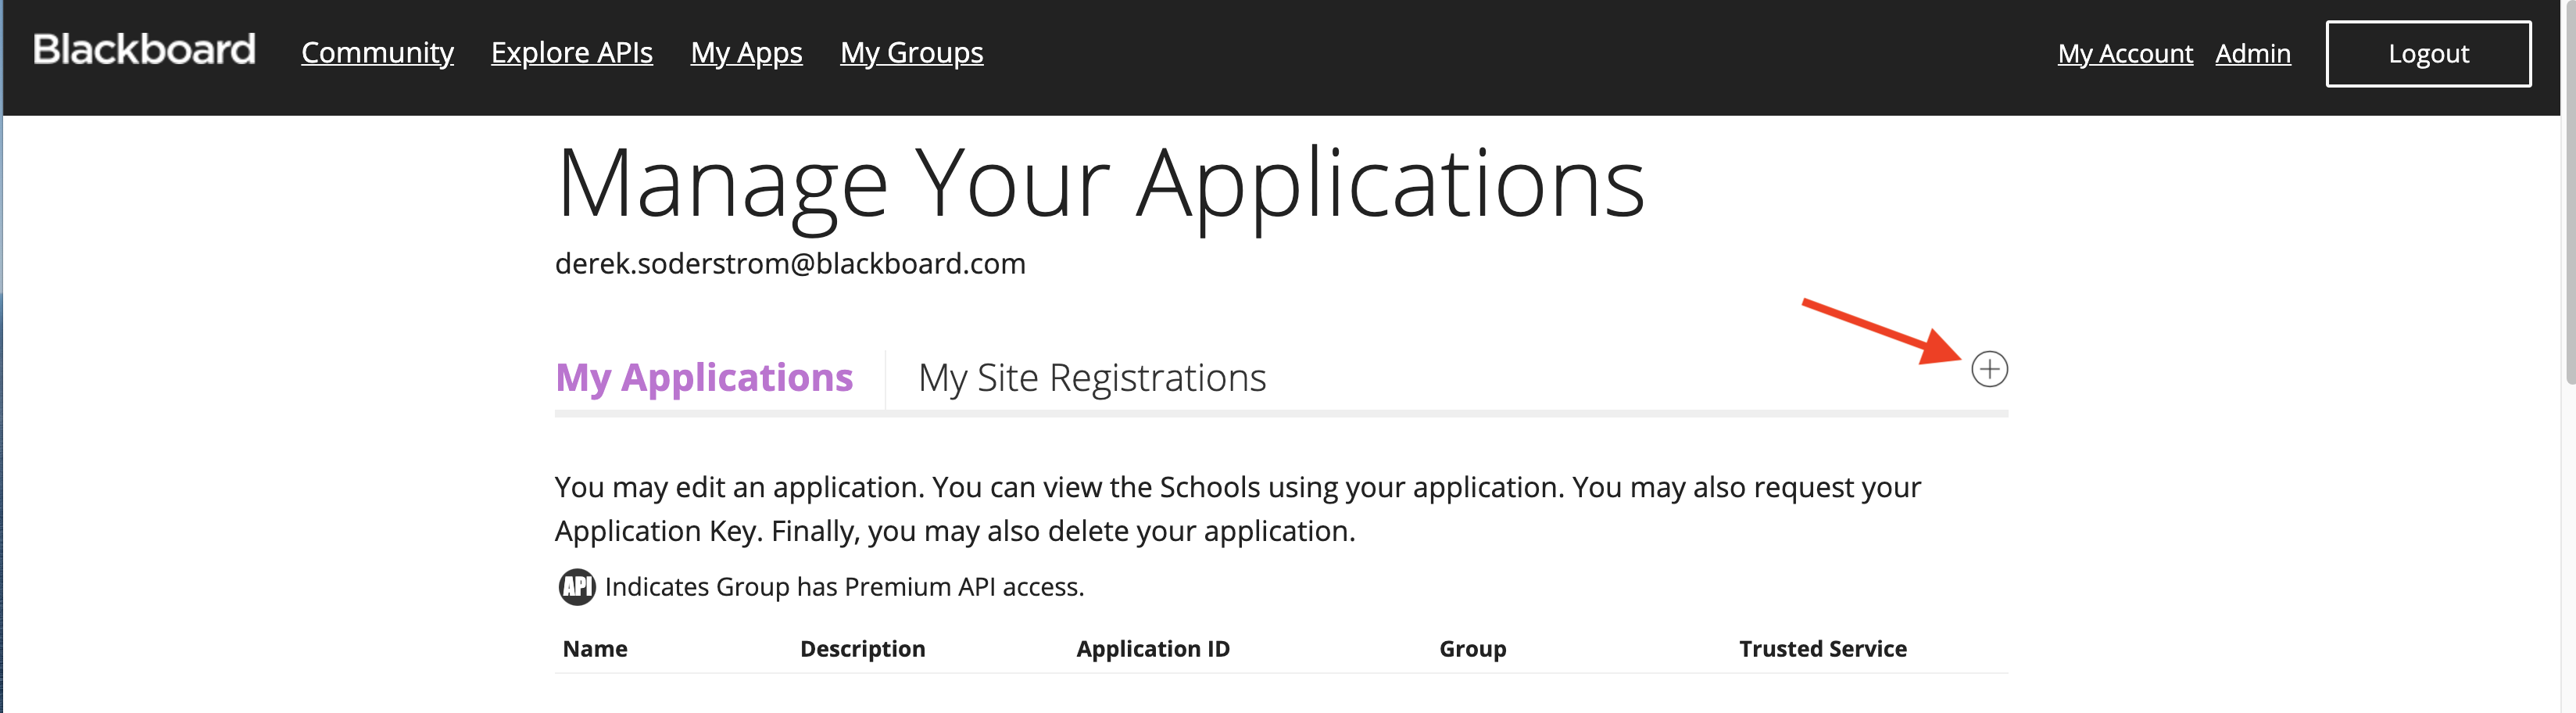
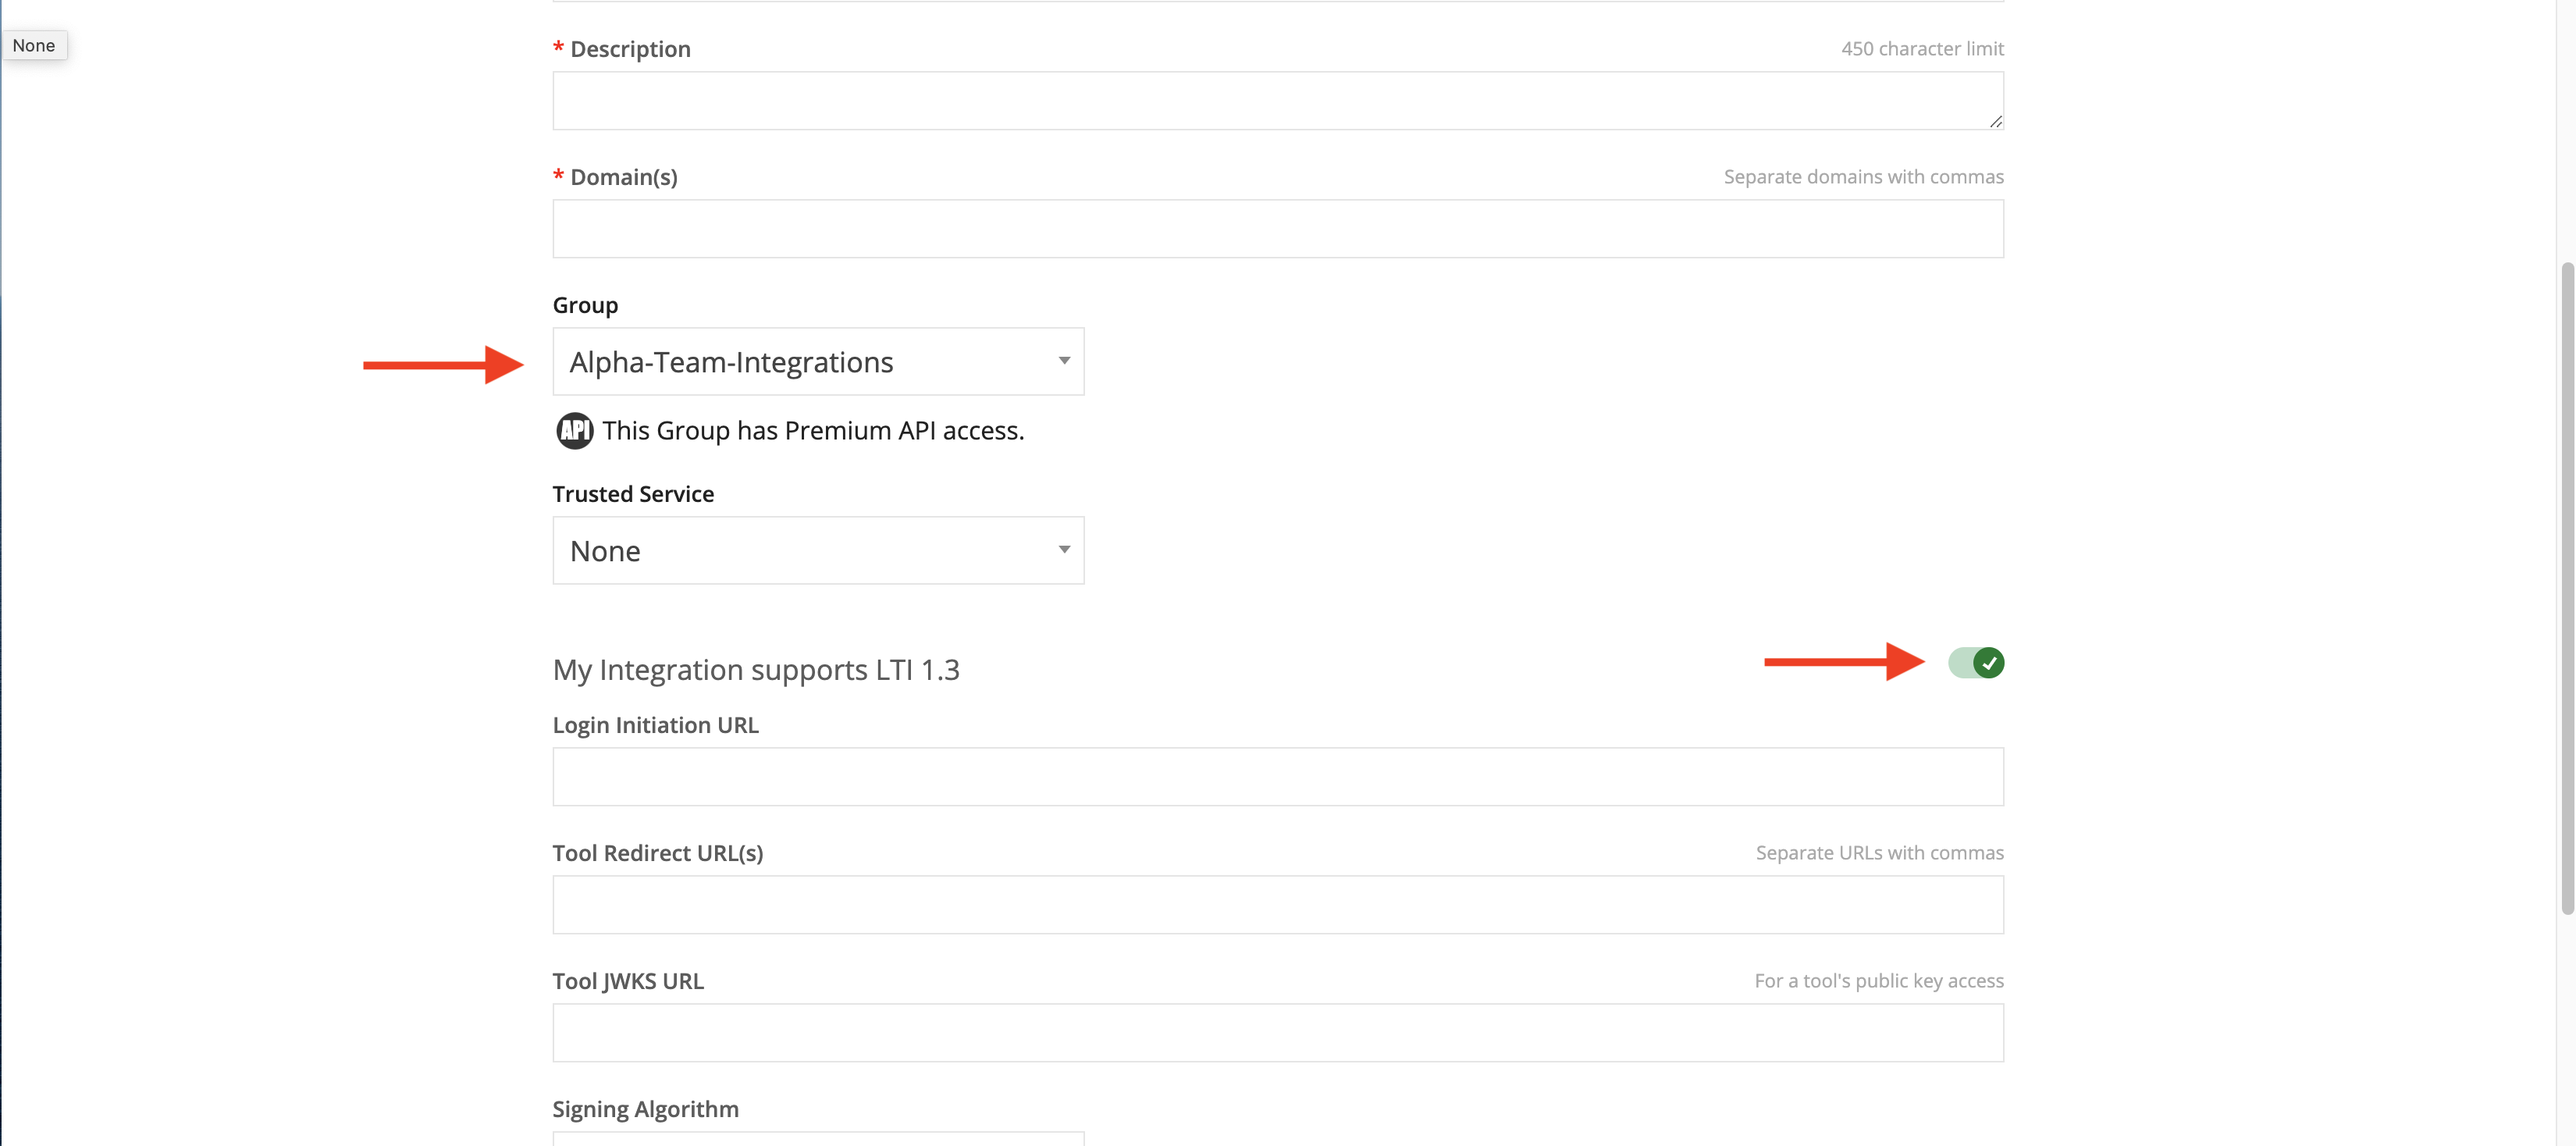
- Fill out all required fields
- Select the group name that you created above in step 1
- Slide the toggle next to “My Integration supports LTI 1.3” to enter information for LTI 1.3
LTI Placements
Two types of LTI placements will need to be created to successfully integrates as a proctoring service.
Ultra Extension
This placement will be the primary means of communication between your application and Ultra Extension Framework. Ultra Extension Framework will be used to render the settings of each proctoring service inside the assessment settings of Ultra. Once your application is authorized with Ultra Extension Framework, your app will be able to use the API to register as a proctoring service and provide HTML to display. See for more information about UEF including tutorials on how to get started.
Create new Ultra Extension placement:
- From the “My Applications” screen click the … menu next to your application
- Select “Manage Placements”
- Click the “Register” Button
- Fill out required fields. Be sure to select “Ultra extension” as Type:
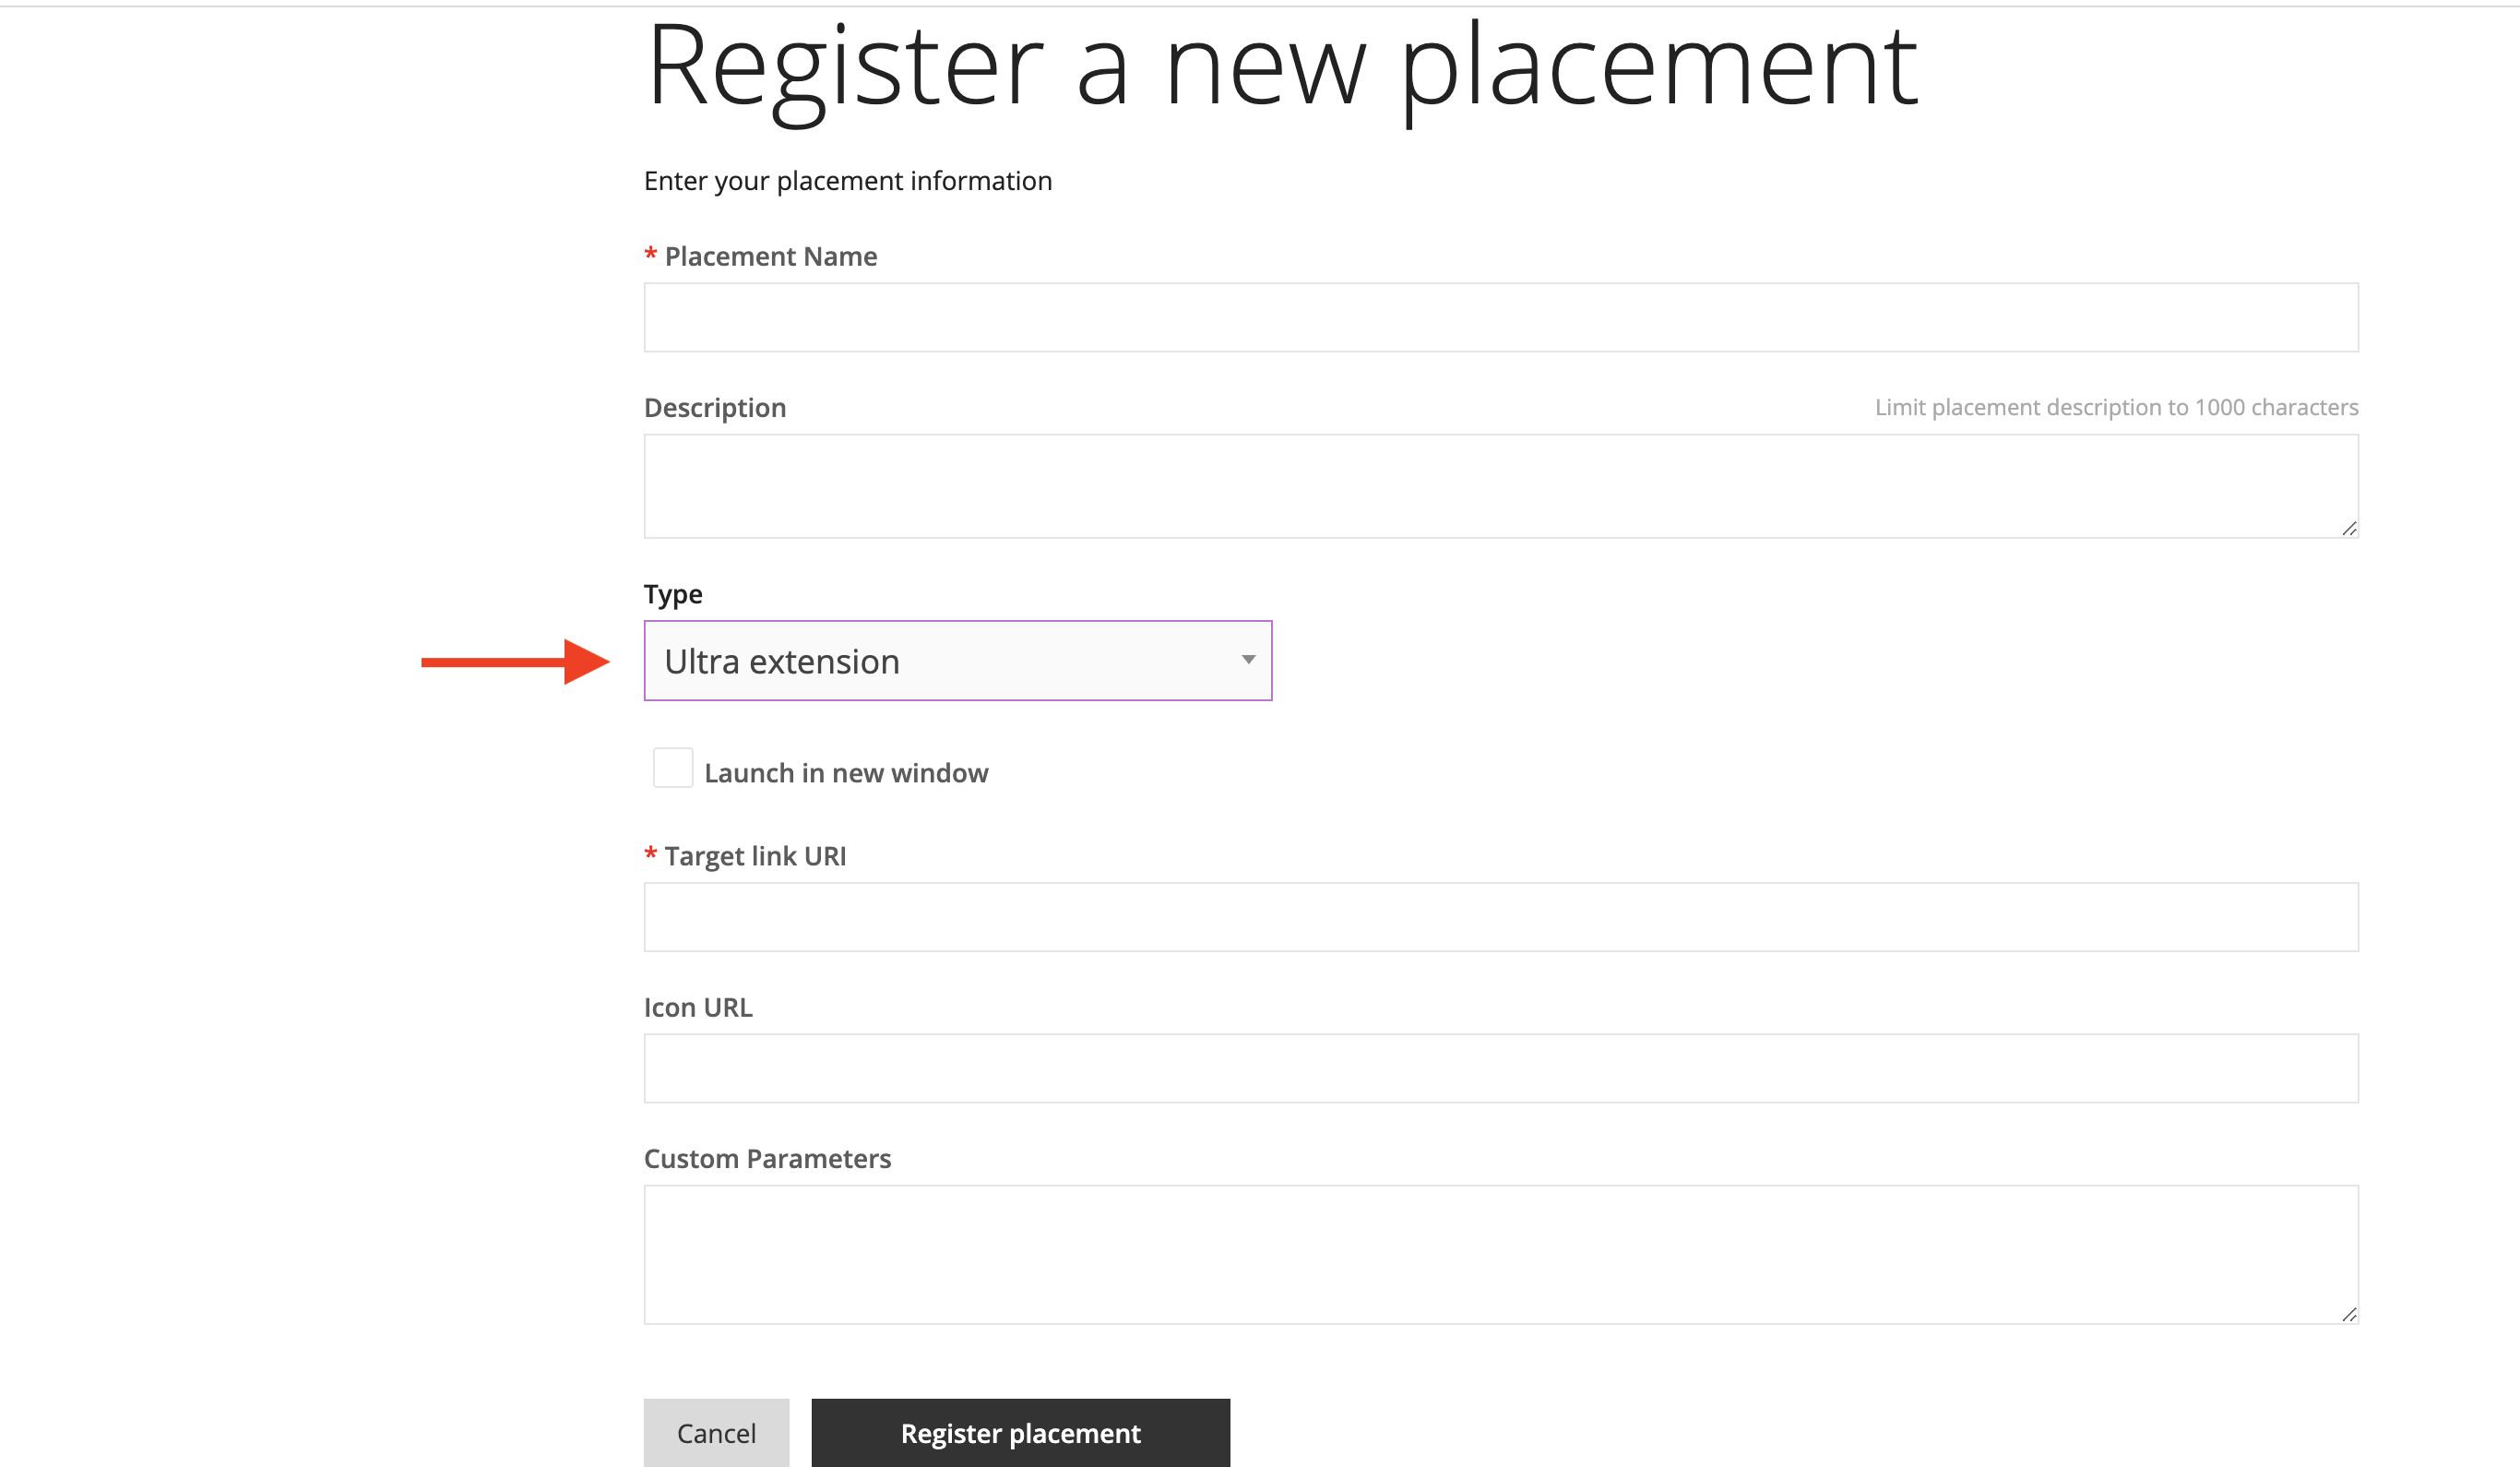
- Click “Register placement”
Proctoring
This placement will be used to communicate with your application when a student takes starts a proctored assessment. This placement type is restricted and will need to be created by a Dev Portal admin at Blackboard.
Create new Ultra Extension placement:
- From the “My Applications” screen click the … menu next to your application
- Select “Manage Placements”
- Click the “Register” Button
- Fill out required fields. Be sure to select “Proctoring” as Type:

- Click “Register placement”
Ultra Extension Framework
Now that your LTI tool and placements are configured and you have authorized with UEF, it’s time to register as a proctoring service with UEF. Below is an outline of events that will be of interest to you.
proctoring-service:register
You will need to register as a proctoring service with UEF. At this step, you will need the unique handle of the proctoring placement supplied by Blackboard.
proctoring-service:register
// Tell UEF we are a proctoring service
sendMessage({
    type: 'proctoring-service:register',
    proctoringPlacementHandle: <unique_handle_goes_here>
});


// UEF sent a new message
if (msg.data.type === 'proctoring-service:register') {

   // This is UEF responding to your message. A status will be included as well as an error if something went wrong
   console.log(msg.data.proctoringPlacementHandle);
   console.log(msg.data.status);
   console.log(msg.data.errorMessage);
}
proctoring-service:settings-saved
UEF will send this message when the user saves the assessment settings. This is to notify the proctoring service to save off the current settings for this assessment. This is an asynchronous message so UEF will wait for your response until the timeout is reached.
proctoring-service:settings-saved
if (msg.data.type === 'proctoring-service:settings-saved') {
   // Settings were saved for this contentId
   console.log(msg.data.contentId);

   // Status of proctoring
   console.log(msg.data.enabled);


   // Your response back to UEF after you have done what you need to
   sendMessage({
      type: 'proctoring-service:settings-saved:response',
      correlationId: msg.data.correlationId,
      success: true,
      error: undefined
   });
}
event:subscribe
You will need to subscribe to portal:new events. Once subscribed, UEF will notify you when a portal (an area to host content) becomes visible in the UI. In this case when the proctoring configuration panel is opened.
event:subscribe
// Tell UEF we want to subscribe to portal events
sendMessage({
    type: 'event:subscribe',
    subscriptions: ['portal:new', 'portal:remove']
});

// UEF sent a new message
if (msg.data.type === 'event:event') {

    // The event type is a new portal
    if (msg.data.eventType === 'portal:new') {

       // Name of the portal in view
       console.log(msg.data.selector)

       // ID of portal in view
       console.log(msg.data.portalId)


       // Any specific data relavant to this portal
       console.log(msg.data.selectorData)
    }
}
portal:render
This is the message the proctoring service will send to UEF to render the proctoring settings. The selector for proctoring panel is course.content.assessment.settings.proctoring.panel.settings:
portal:render
// UEF sent a new message
if (msg.data.type === 'event:event') {

    // The event type is a new portal
    if (msg.data.eventType === 'portal:new') {

       // Check if this matches the proctoring panel selector
       if (msg.data.selector === 'course.content.assessment.settings.proctoring.panel.settings') {

          // ID of this portal. This must be sent back to UEF in the portal:render message
          const portalId = msg.data.portalId;

          // contentId is included for convience in the selectorData
          console.log(msg.data.selectorData.contentId);

          const contentsToSend = {
             tag: 'div',
             children: [{
                tag: 'span',
                children: `Proctoring Service Settings`
            }]
          };

          // Send message to UEF to render this content
          sendMessage({
             type: "portal:render",
             portalId: portalId,
             contents: contentsToSend
          });
       }
    }
}
Accessing assessment settings
Pre-requisites:
- Create an Ultra course
- Create a Test or Assignment
- Click the gear icon next to “Test Settings”
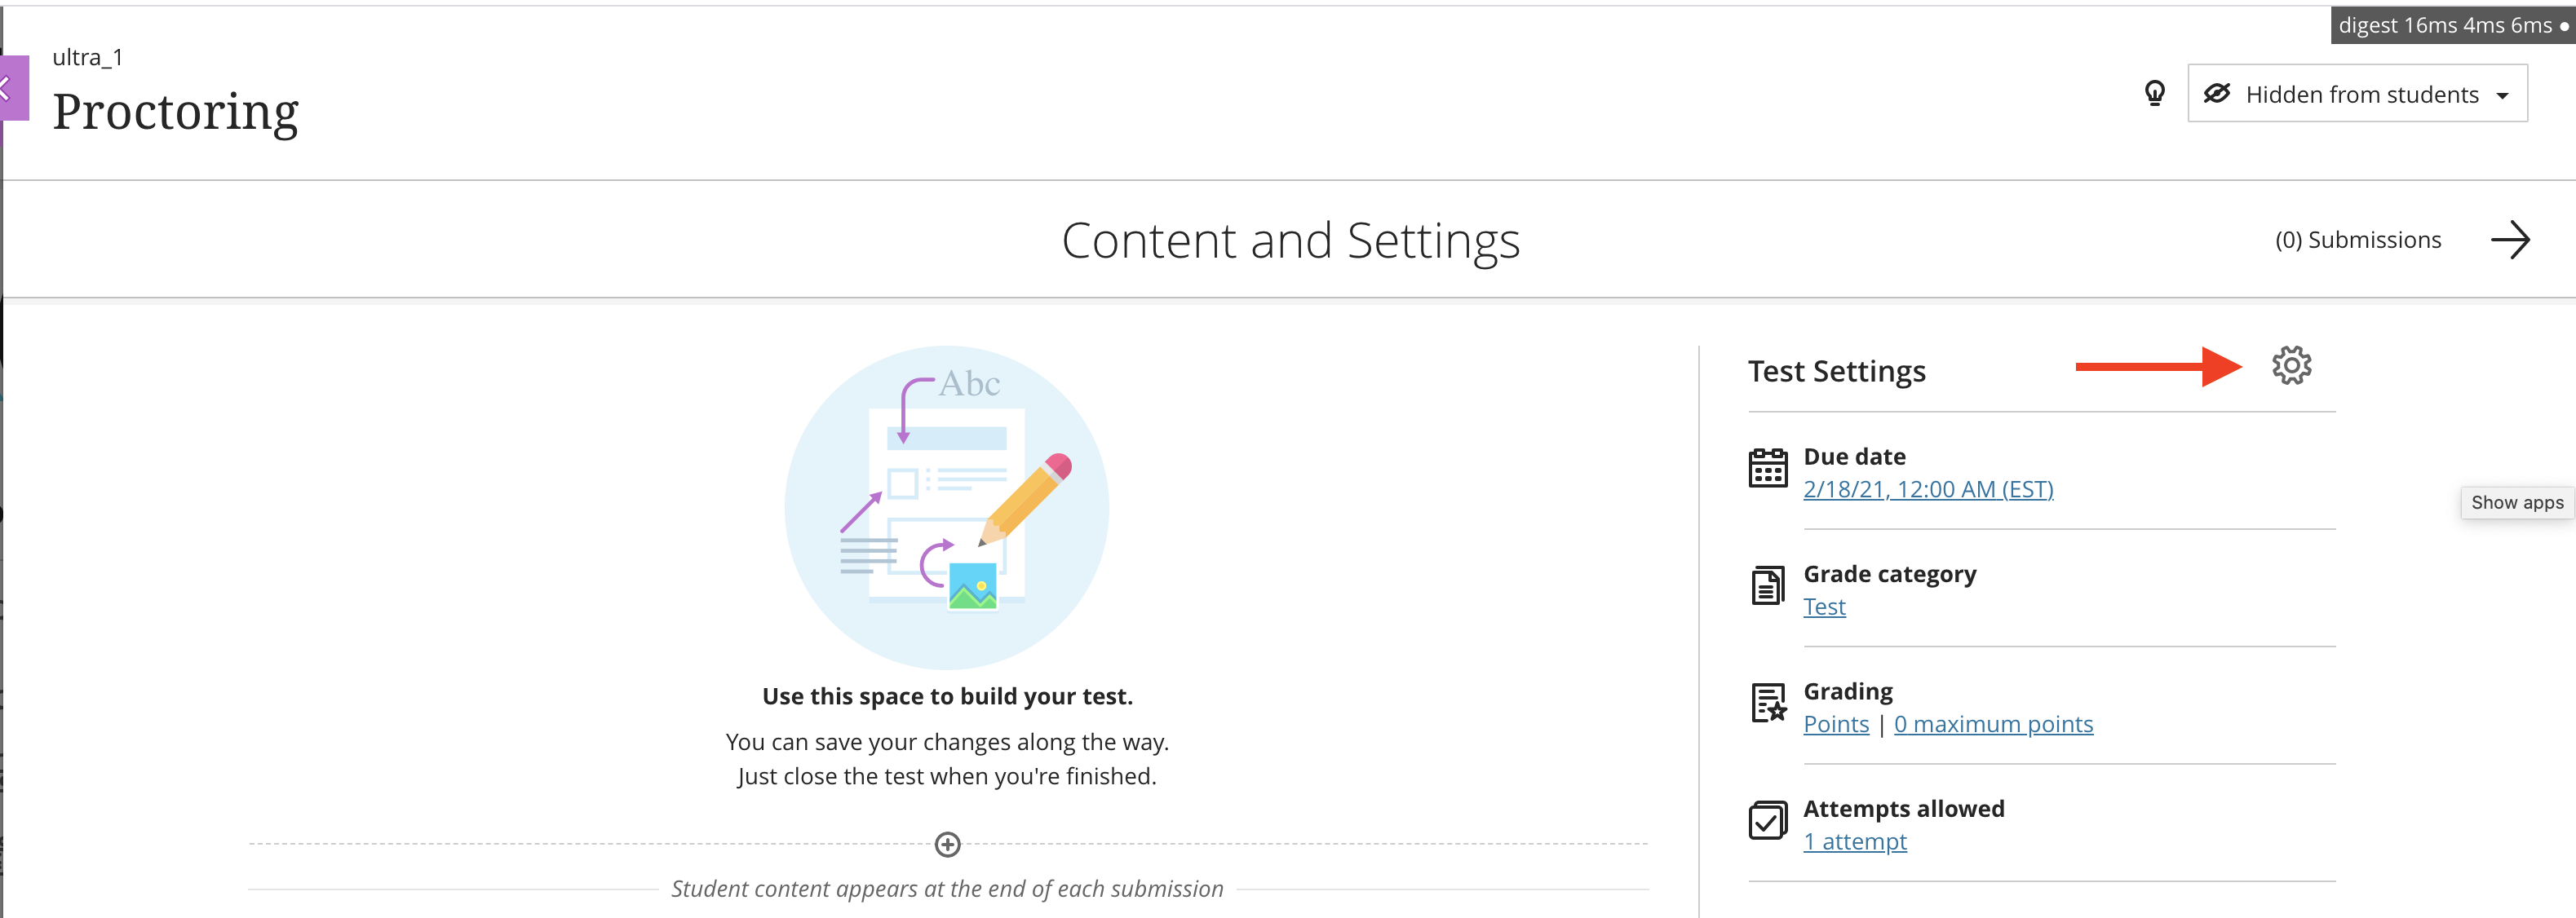
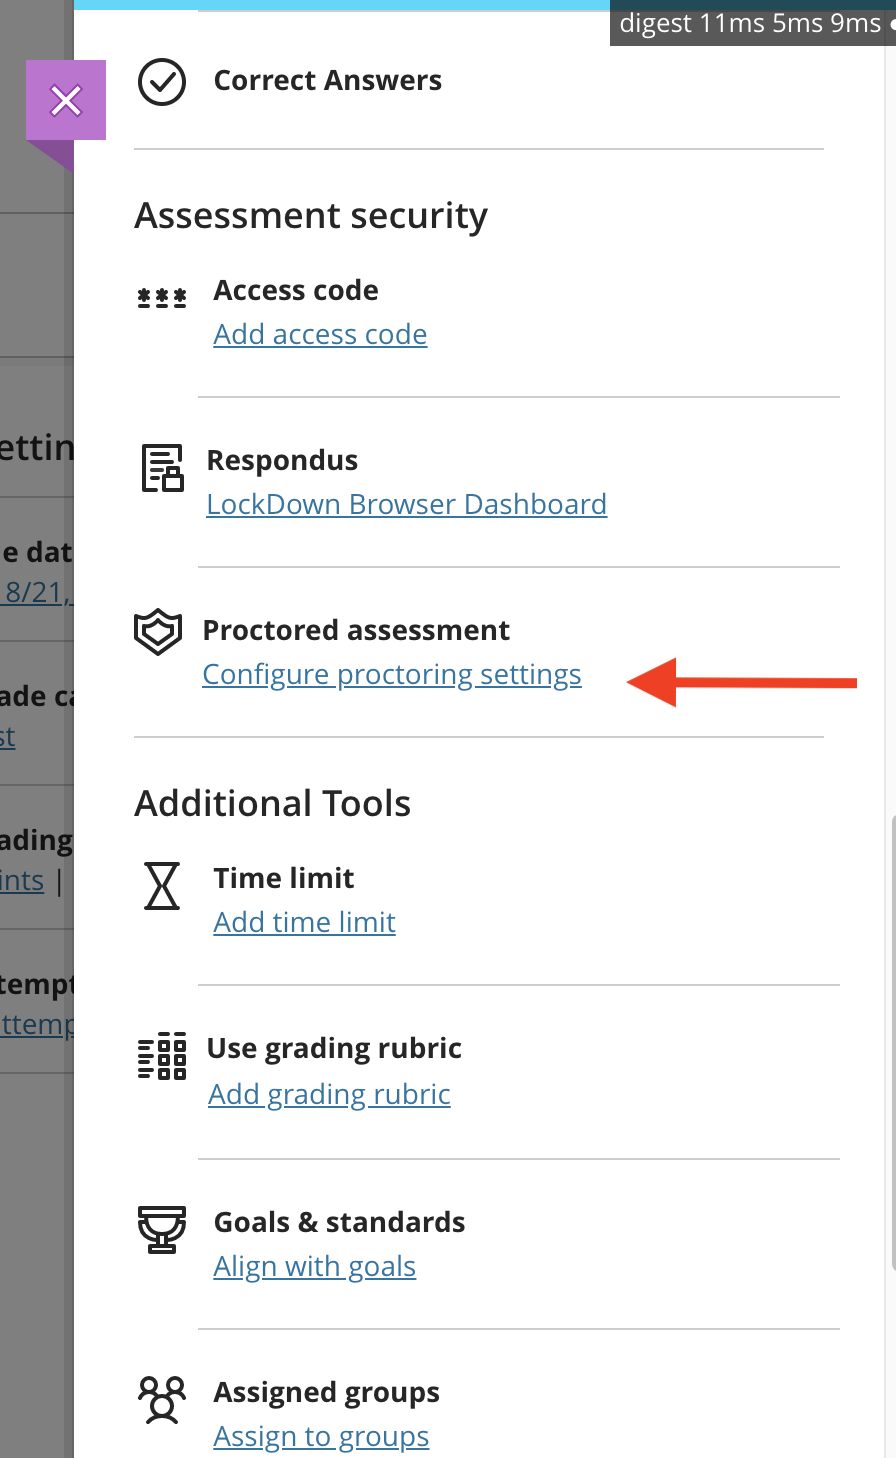
- Scroll down and click the “Configure proctoring settings” link
Note: If this section is not present, the proctoring placement has likely not been created or is set to unavailable.
- If the setup was done correctly, you should see your proctoring service in the dropdown menu. If the toggle is enabled the contents you passed to Ultra Extension Framework in the portal:render message should display in the (red) box in the image below
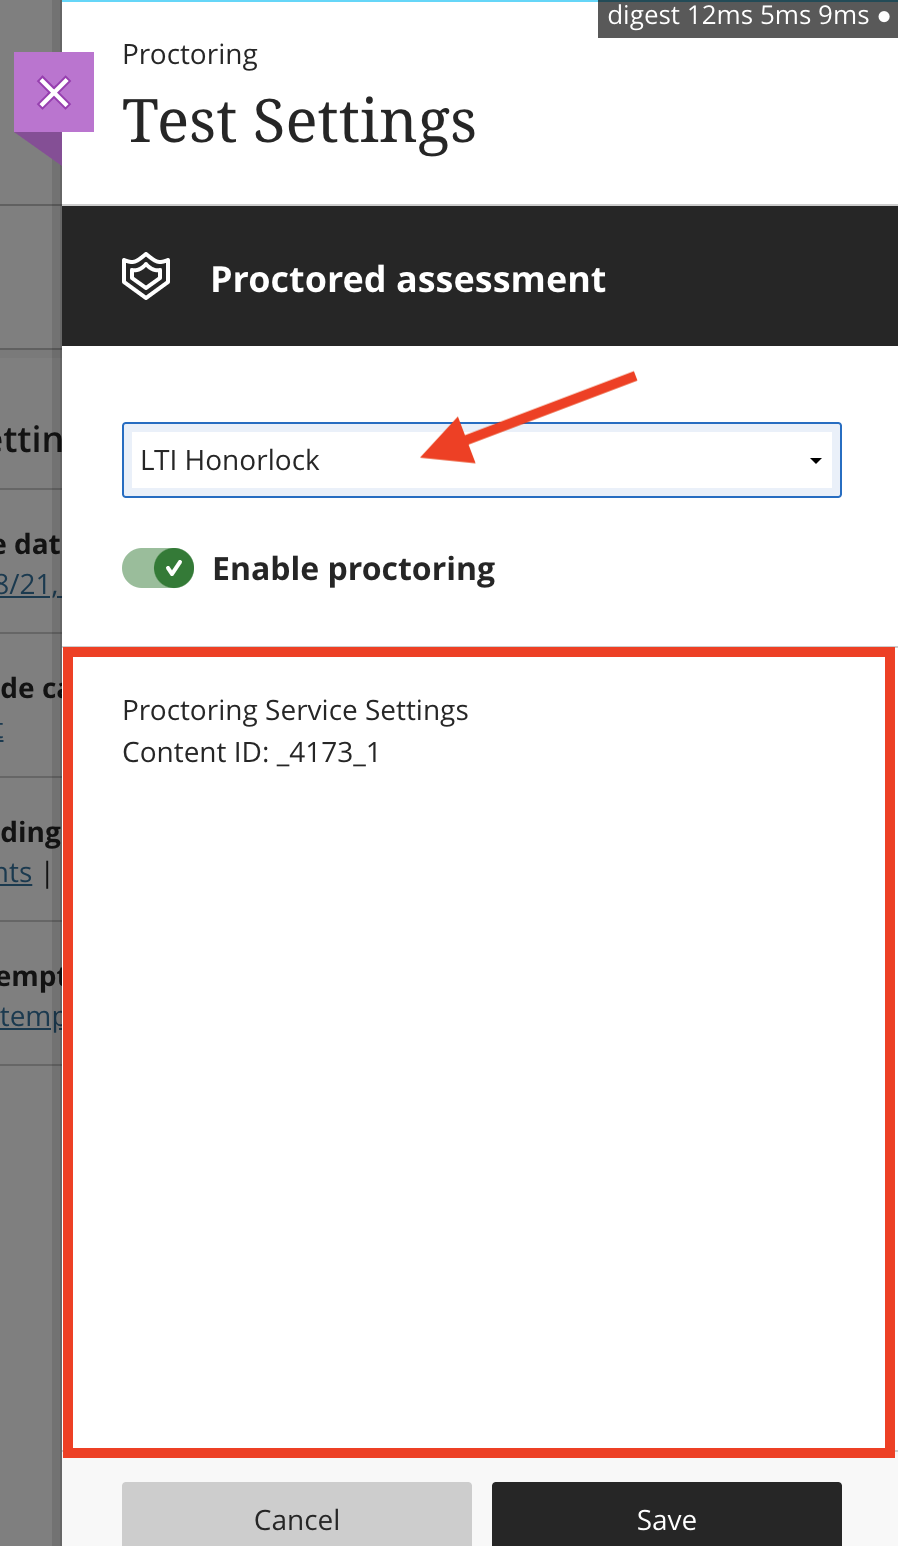
-
If the following error message is shown
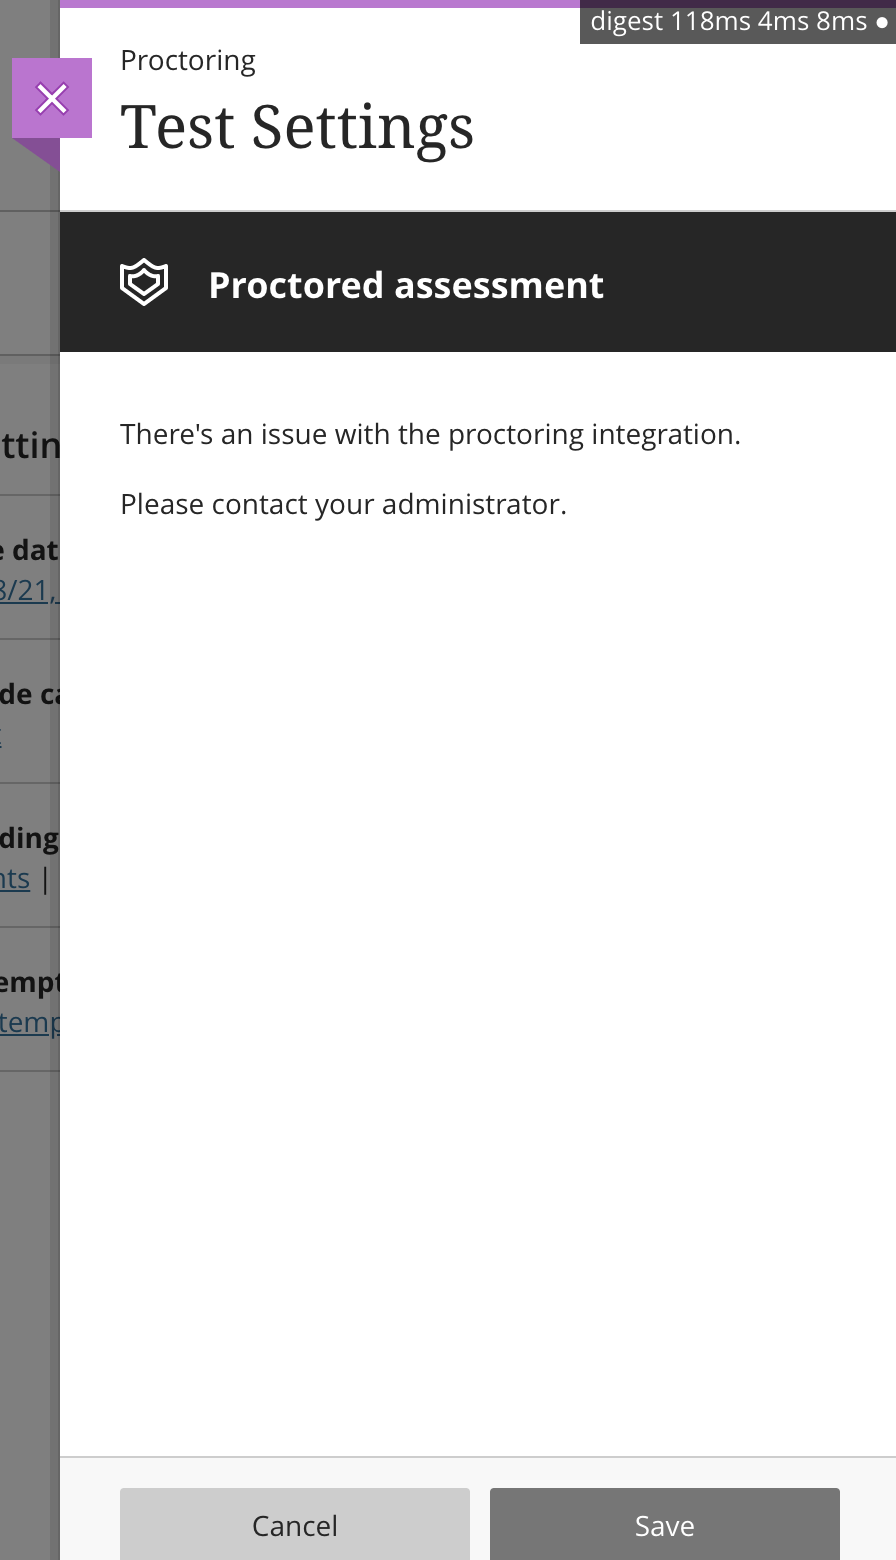
One of the following may be true:
- Ultra Extension placement has not been created or is set to unavailable
- Authorization with Ultra Extension Framework failed
- Error in your JS script Ultra Extension Framework is calling