Developer Portal, Development and Production Groups
What are Groups?
The Blackboard Developer Portal provides the means to manage application releases and associated developers through the concept of Groups. You can create groups for individual and team development, as well as target a specific group for a production application release (your Production Group). This allows you to manage your applications and the developer teams behind them, enabling access to application references by team members.
Groups always have at least one member - that unique member has admin rights and may not be removed from the group. You may add developers to groups. Developers added to groups may be given administrator privileges on the group.
Groups may also have one or more applications associated with the group. Application association allows for granular management of applications and teams access to application information.
Groups enable you to manage the developers associated with your projects and the release level of your applications.
And finally Groups allow for a higher contracted rate_limit, and site quota, over those set for default developer accounts. These settings are based on your Blackboard license or Business Development contract. If you do not have a Blackboard product license or do not have a Business Development contract your groups will all have default developer account settings.
This document explains how to create and manage your groups.
Group Naming Requirements
This is a very important topic because the name you give the group is the name that shows up in the Blackboard Learn system that is associated with the application ID when the Learn Administrator configures the integration. In general, you want the Group Name to include at minimum one or two items, 1.The name of the company/vendor that owns the application, and optionally 2. the name of the application or product. Below is an example for one application ID:
For developers you could use following name. Notice how we include the company name, the product name, and who the group belongs to:
- SuperSoftware - Sudoku For Learners - Development Team 1
- SuperSoftware - Sudoku For Learners - Development Team 2
Then your production group name could be the following:
- SuperSoftware - Sudoku For Learners; or
- SuperSoftware, Sudoku For Learners
If your company had a different product, say Multinote, it will have a different application ID and you will associate it with different groups, say:
- SuperSoftware - Multinote - Development Team 1
- SuperSoftware - Multinote - Development Team 2
- SuperSoftware - Multinote
If your company name indicates your product, and your product name is trademarked, then you have several choices for a production group name. For example if your company is Mark’s Software and your Trademarked’ application is Multinote then you can have your production group name be one of the following:
- Mark’s Software
- Multinote
- Mark’s Software - Multinote
We ask that you not add other, unnecessary information to a production group name. For example, including text indicating that the group name is associated with Blackboard REST APIs is not necessary, nor is an indication of server type such as ‘-test’, ‘-stage’, or ‘-production’, as given the context, we and the Learn Administrator know that’s where and how the group name is being used. It doesn’t matter if you have a SOAP Web Service proxy of the same name as that shows up on a different page.
We will only assign site and rate limits higher than the defaults for development groups to Production Groups that meet these naming requirements.
Next, let’s take a look at how you create Groups.
Creating Groups in the Developer Portal
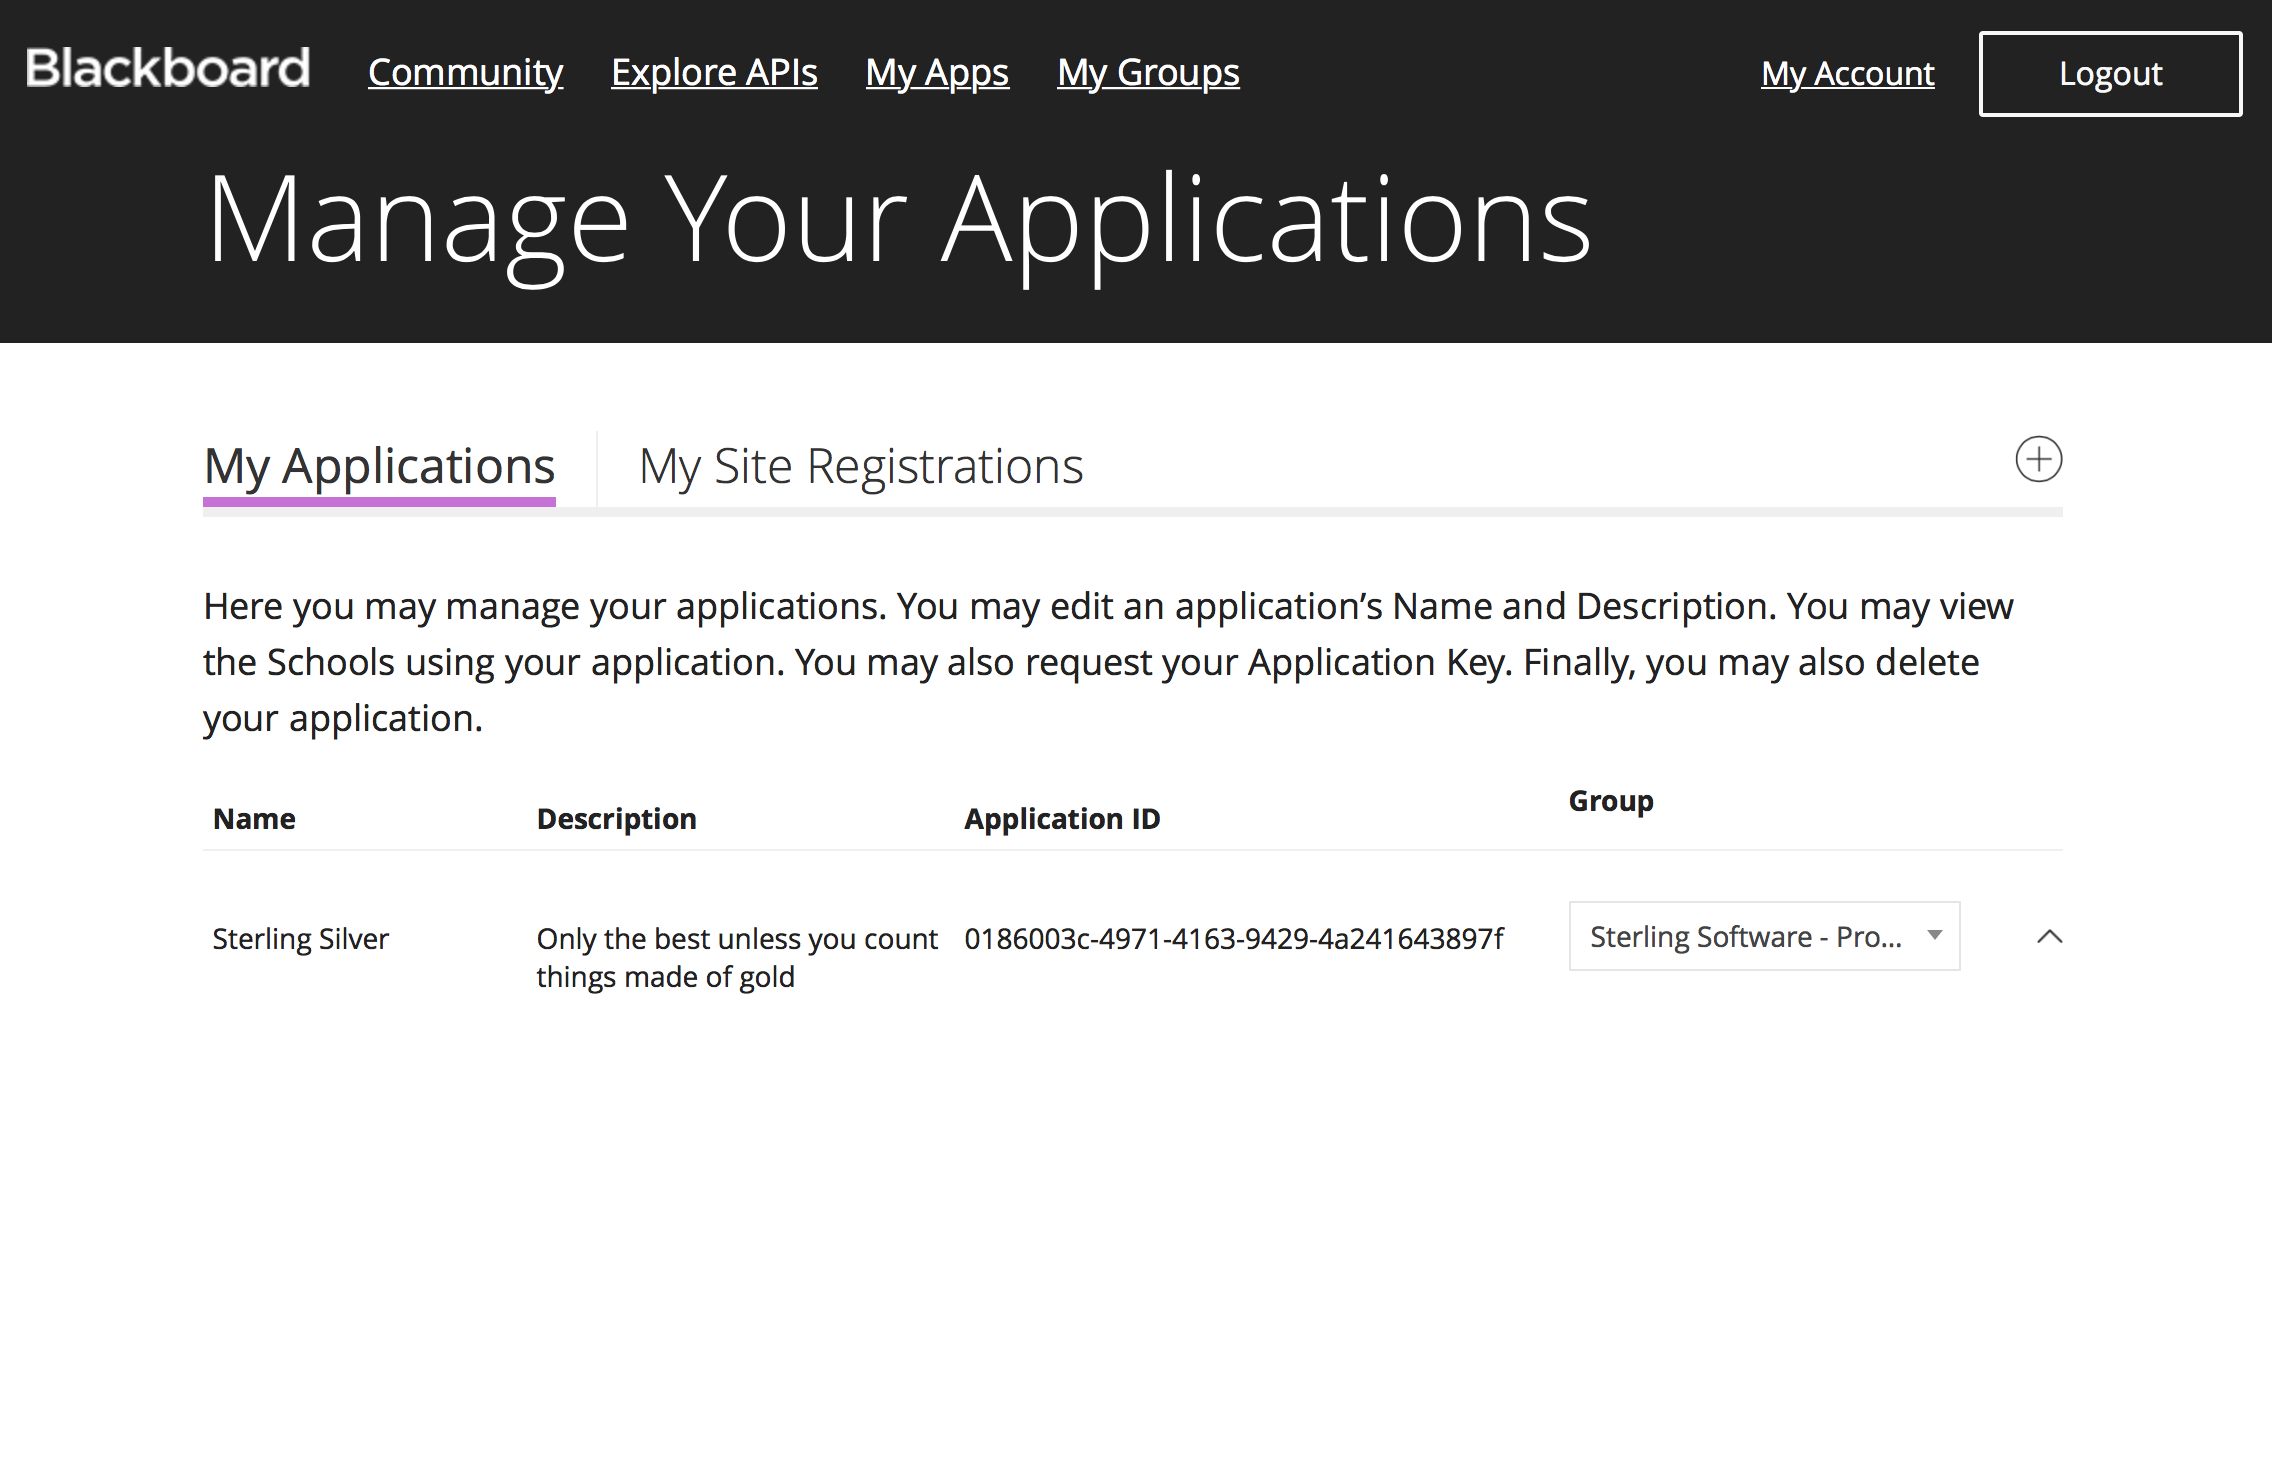
Management of Groups and Applications requires that you have logged into the Developer Portal. Once logged in you are taken to the Application Management portion of the Developer Portal. It is here that you may manage your groups.
Note in the below screen capture that Sterling Silver is a member of the STERLING MOSS group which was created when he created his Developer Portal Account. We already know that Sterling is the Admin of the group so let’s click My Groups and take a look a the STERLING MOSS group.
If you created your Developer Portal account before we introduced groups that is not a problem, you will now have a group based on your account information and you may edit this group name.
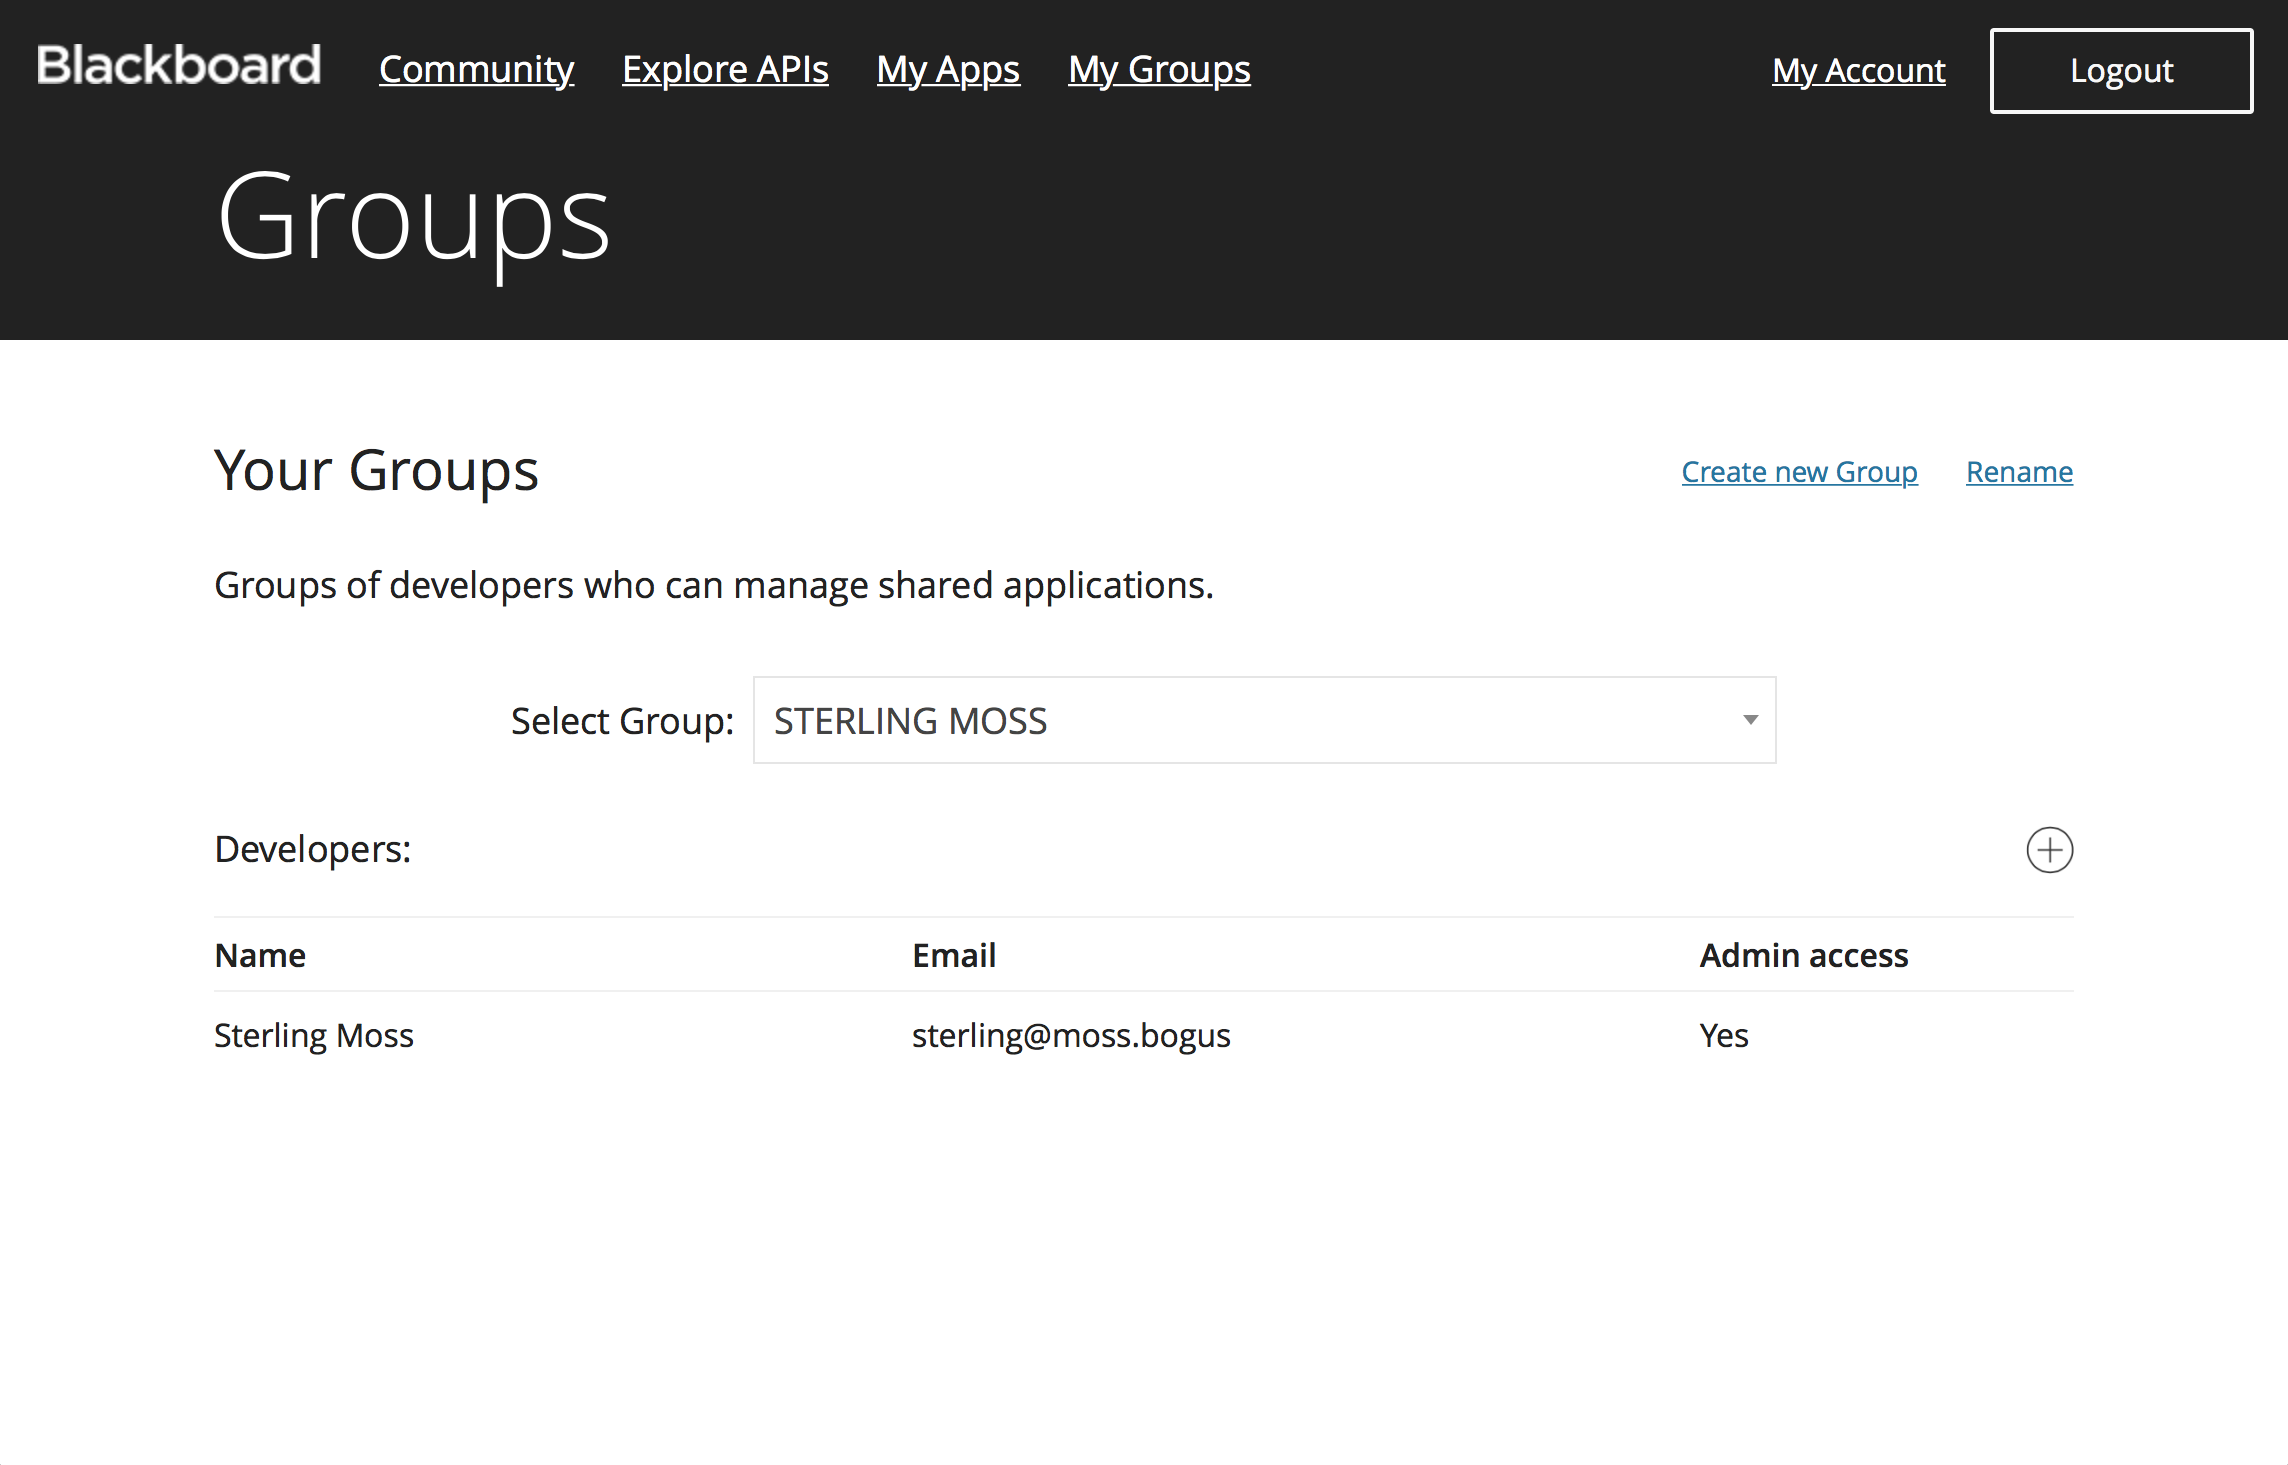
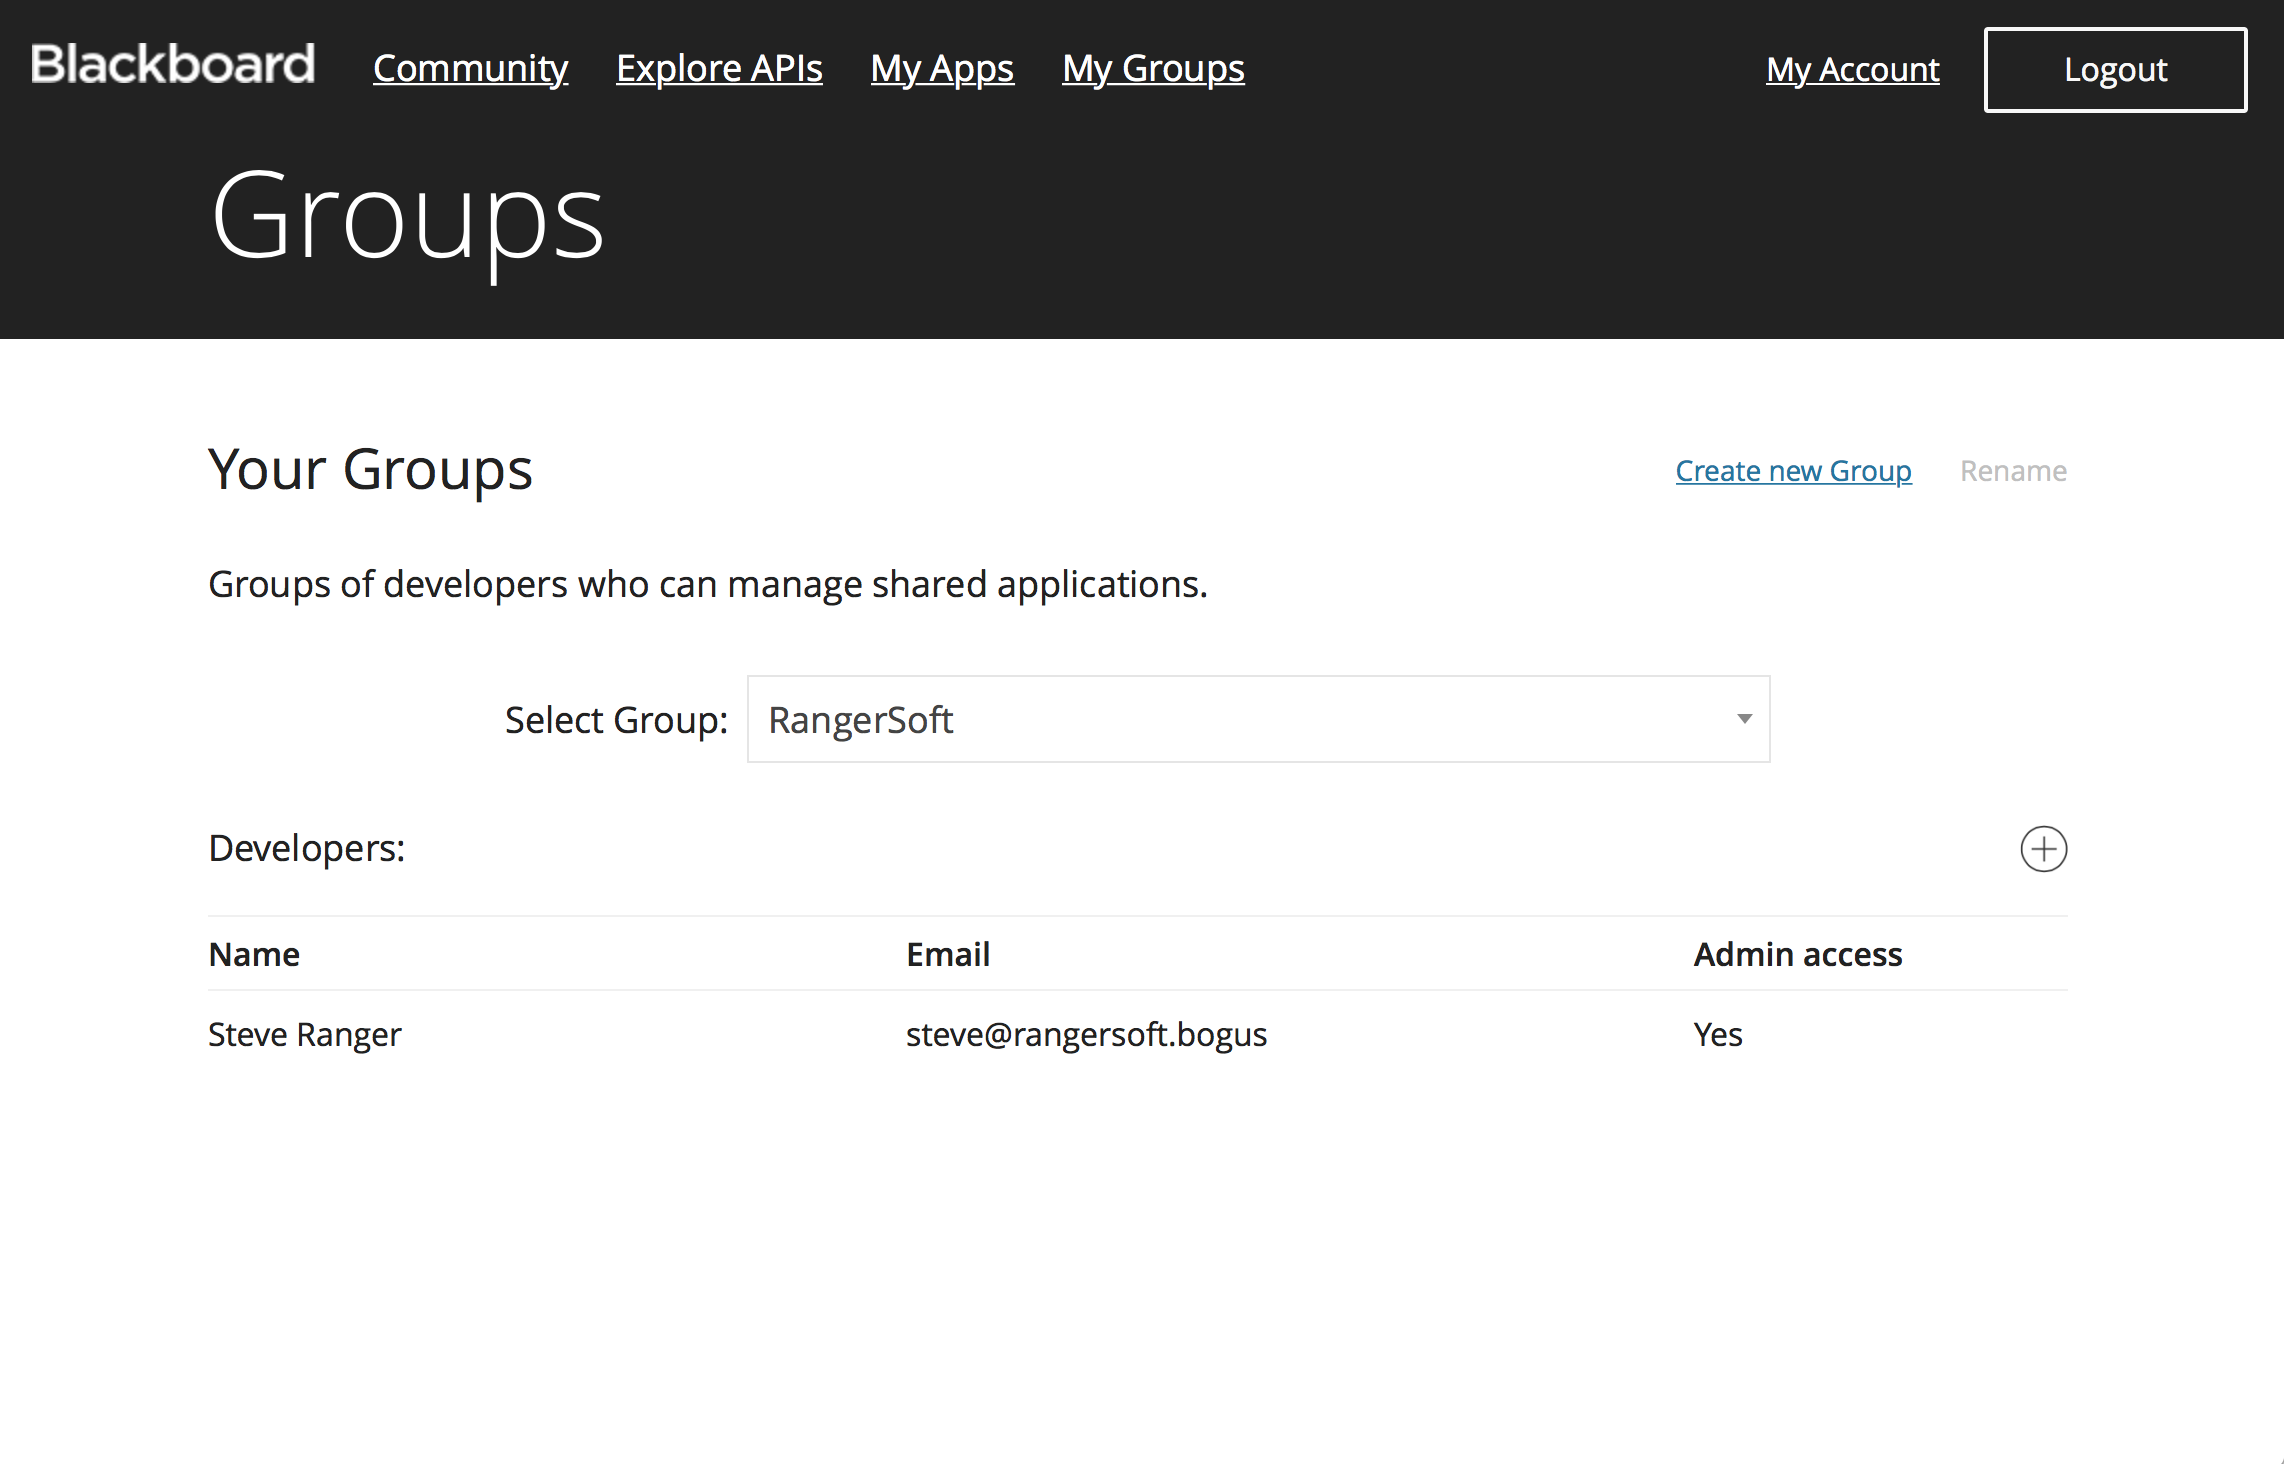
When Sterling clicks on the My Groups link he is taken to the Groups management page (1) where he may view groups in which he is a member (2), view developers in his groups (3), add developers to groups of which he is an administrator (4), and create groups and rename groups he is administering (5).
Groups are created by clicking the Create link next to the Group chooser.
When Stirling clicks Create, a dialog is displayed where he may enter the name of his group. Clicking the Create button will saves the group.
Groups may be used to manage application releases. For example Sterling may have a limited-use alpha group with full developer team access, a beta-group with broader application distribution and a smaller developer team, or a production group with limited admin access. We will discuss Managing Group Applications later in this document.
Sterling chooses to add a group. In this case Sterling is creating a group for his company’s production software.
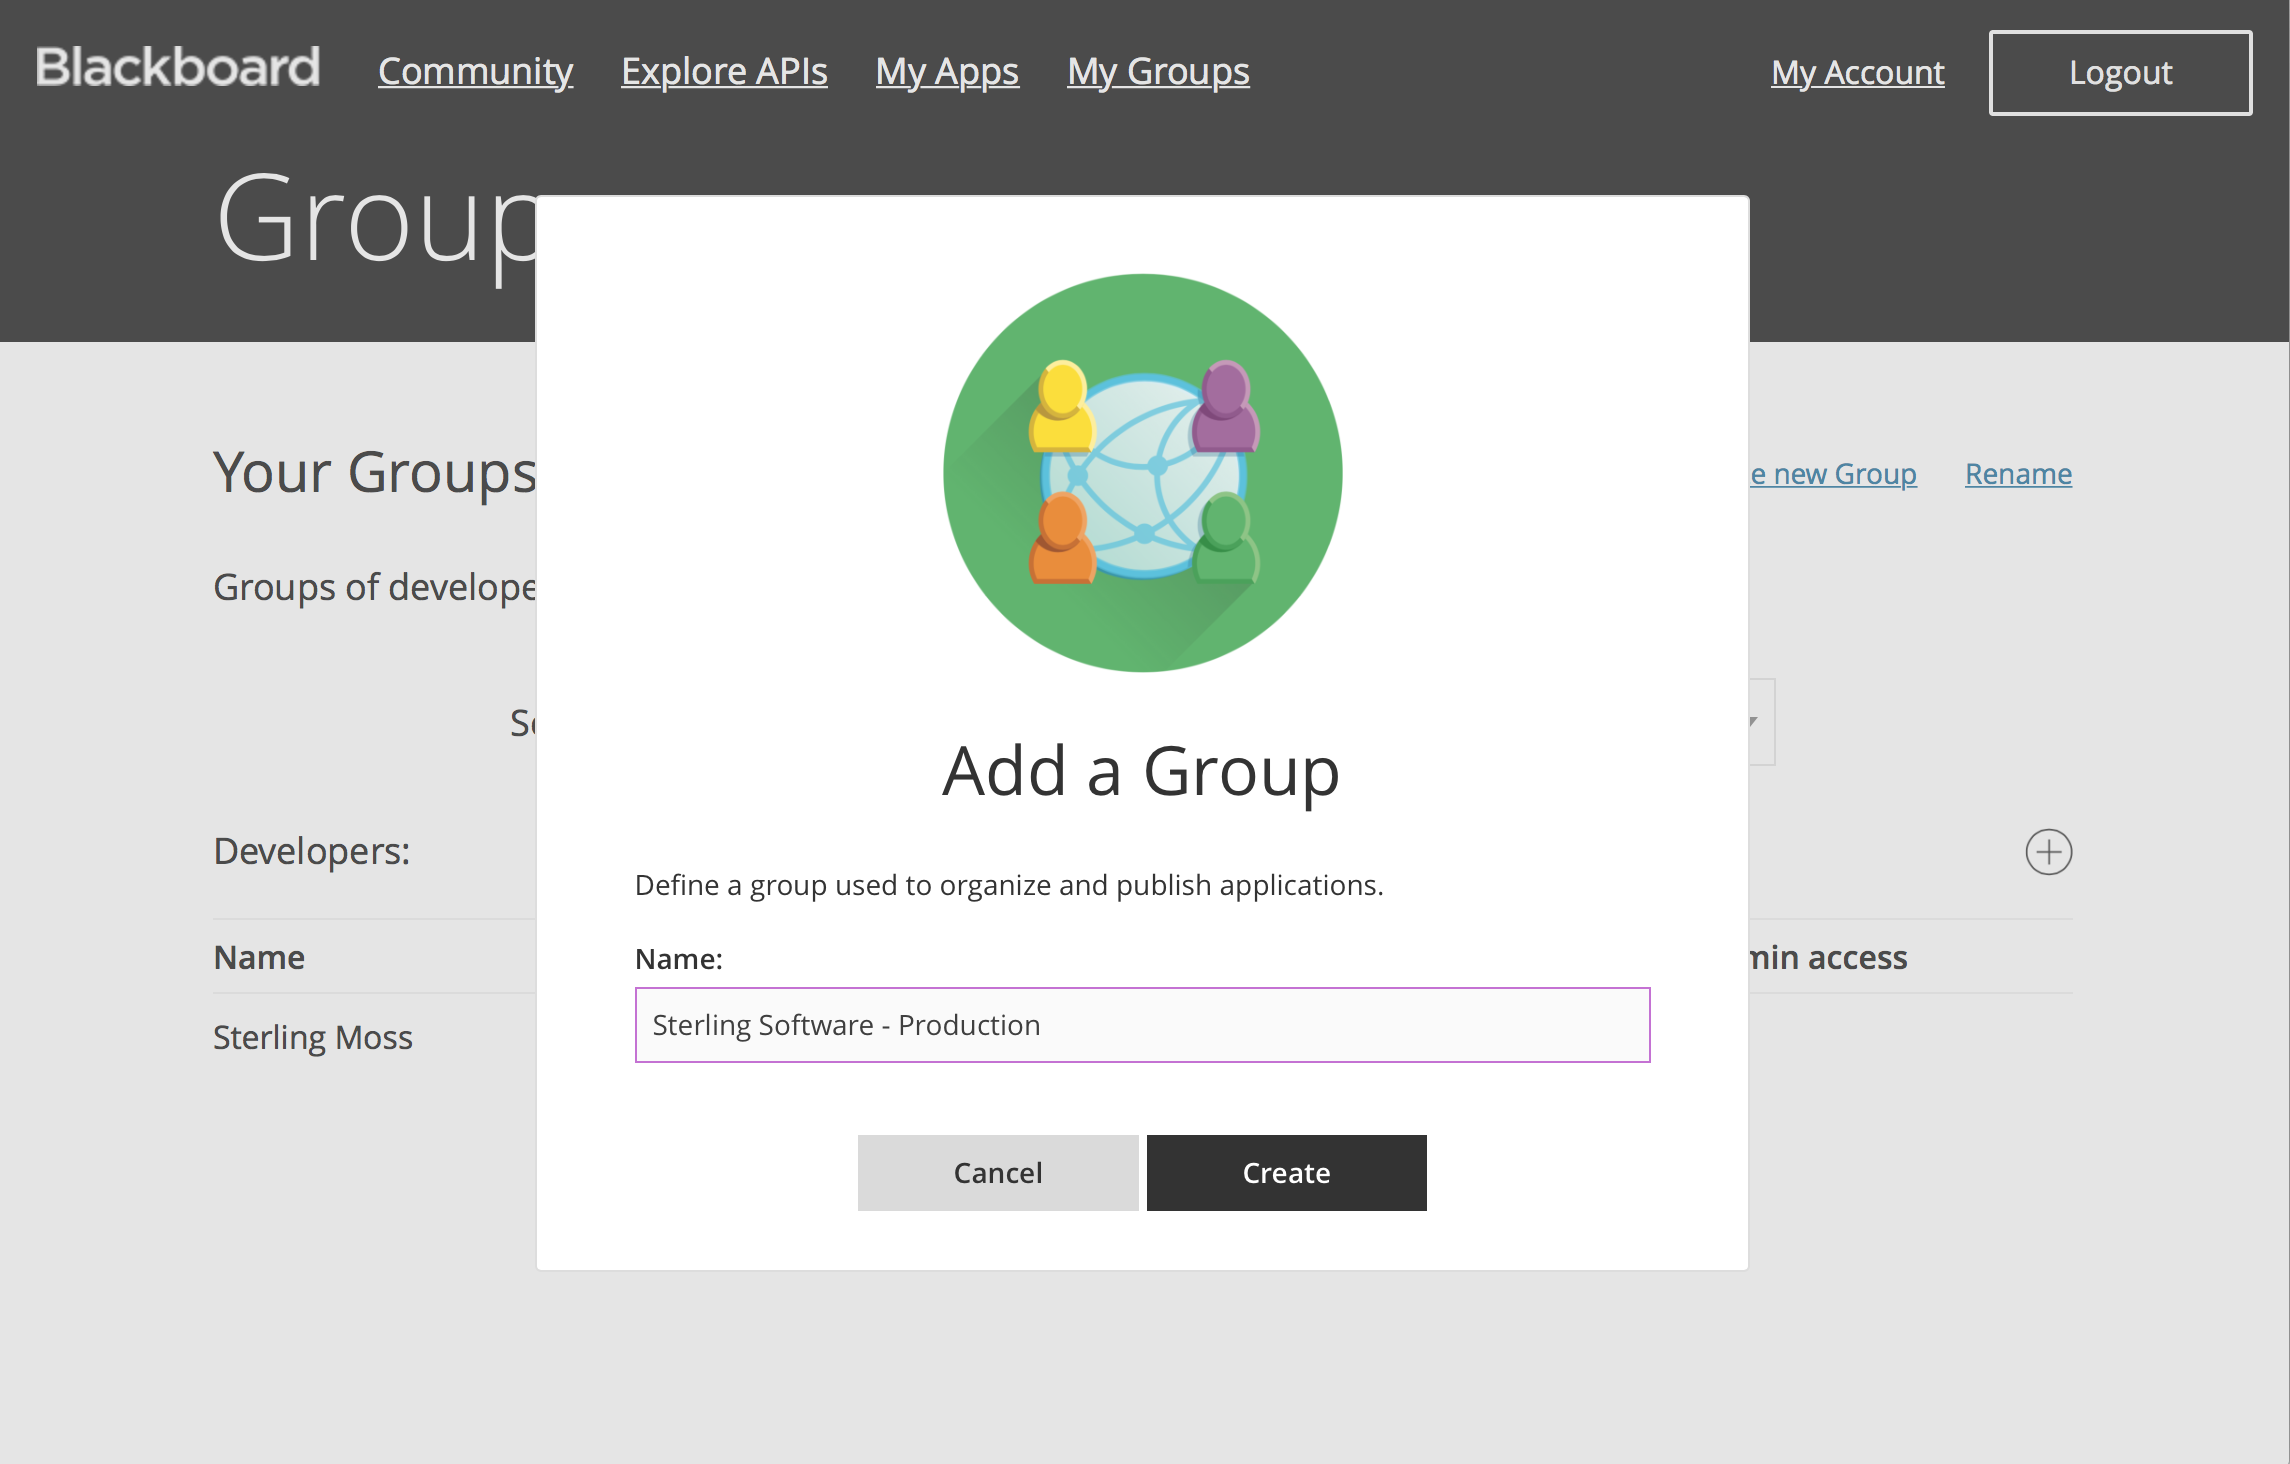
Note that on creating a group you are automatically added to the group with administrator privileges. This allows you to add developers or otherwise manage the group and it’s associated applications.
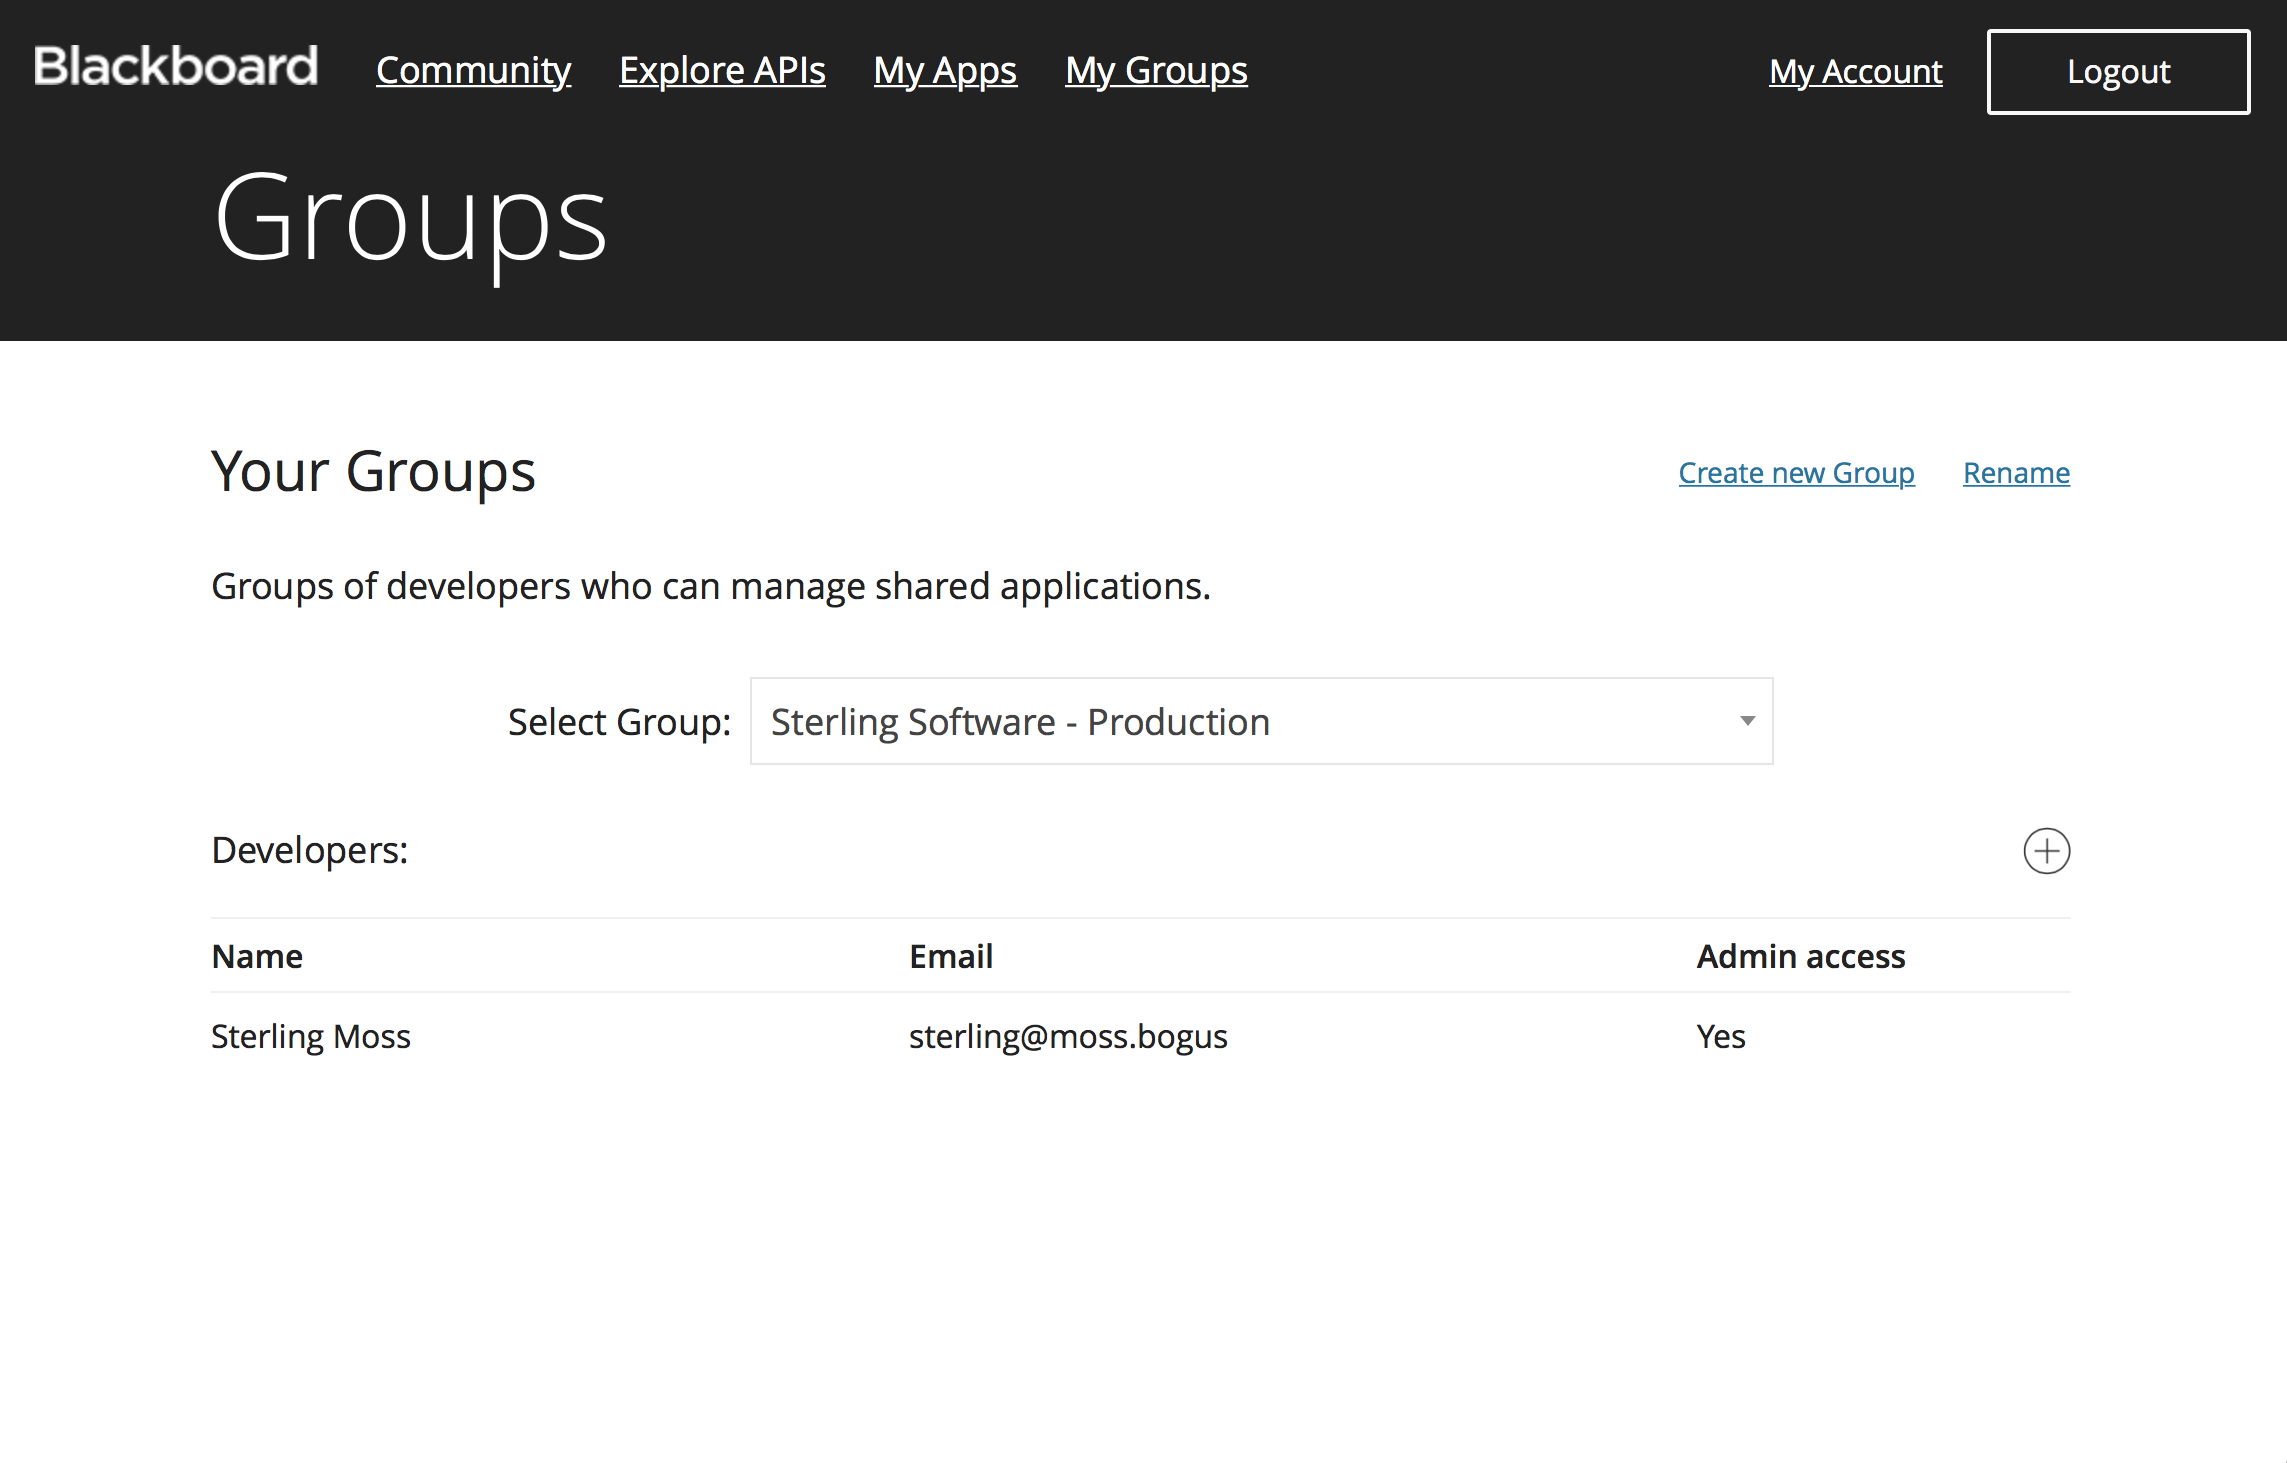
Now that Sterling has created a production group he may want to associate one (or more) of his applications with this group, or add developers from his team to this new group to assist with administrating the group.
Let’s take a look at managing a group’s applications…
Managing Group Applications
As the owner of several applications and several groups you can associate applications with different developer groups.
Let’s log in as Steve Ranger, owner of RangerSoft.
When clicking the My Apps link Steve can now see his applications and the groups with which they are associated.
Steve has his personal group “STEVE RANGER” (1), a development group - “RangerSoft - dev” (2), and his production group “RangerSoft” (3).
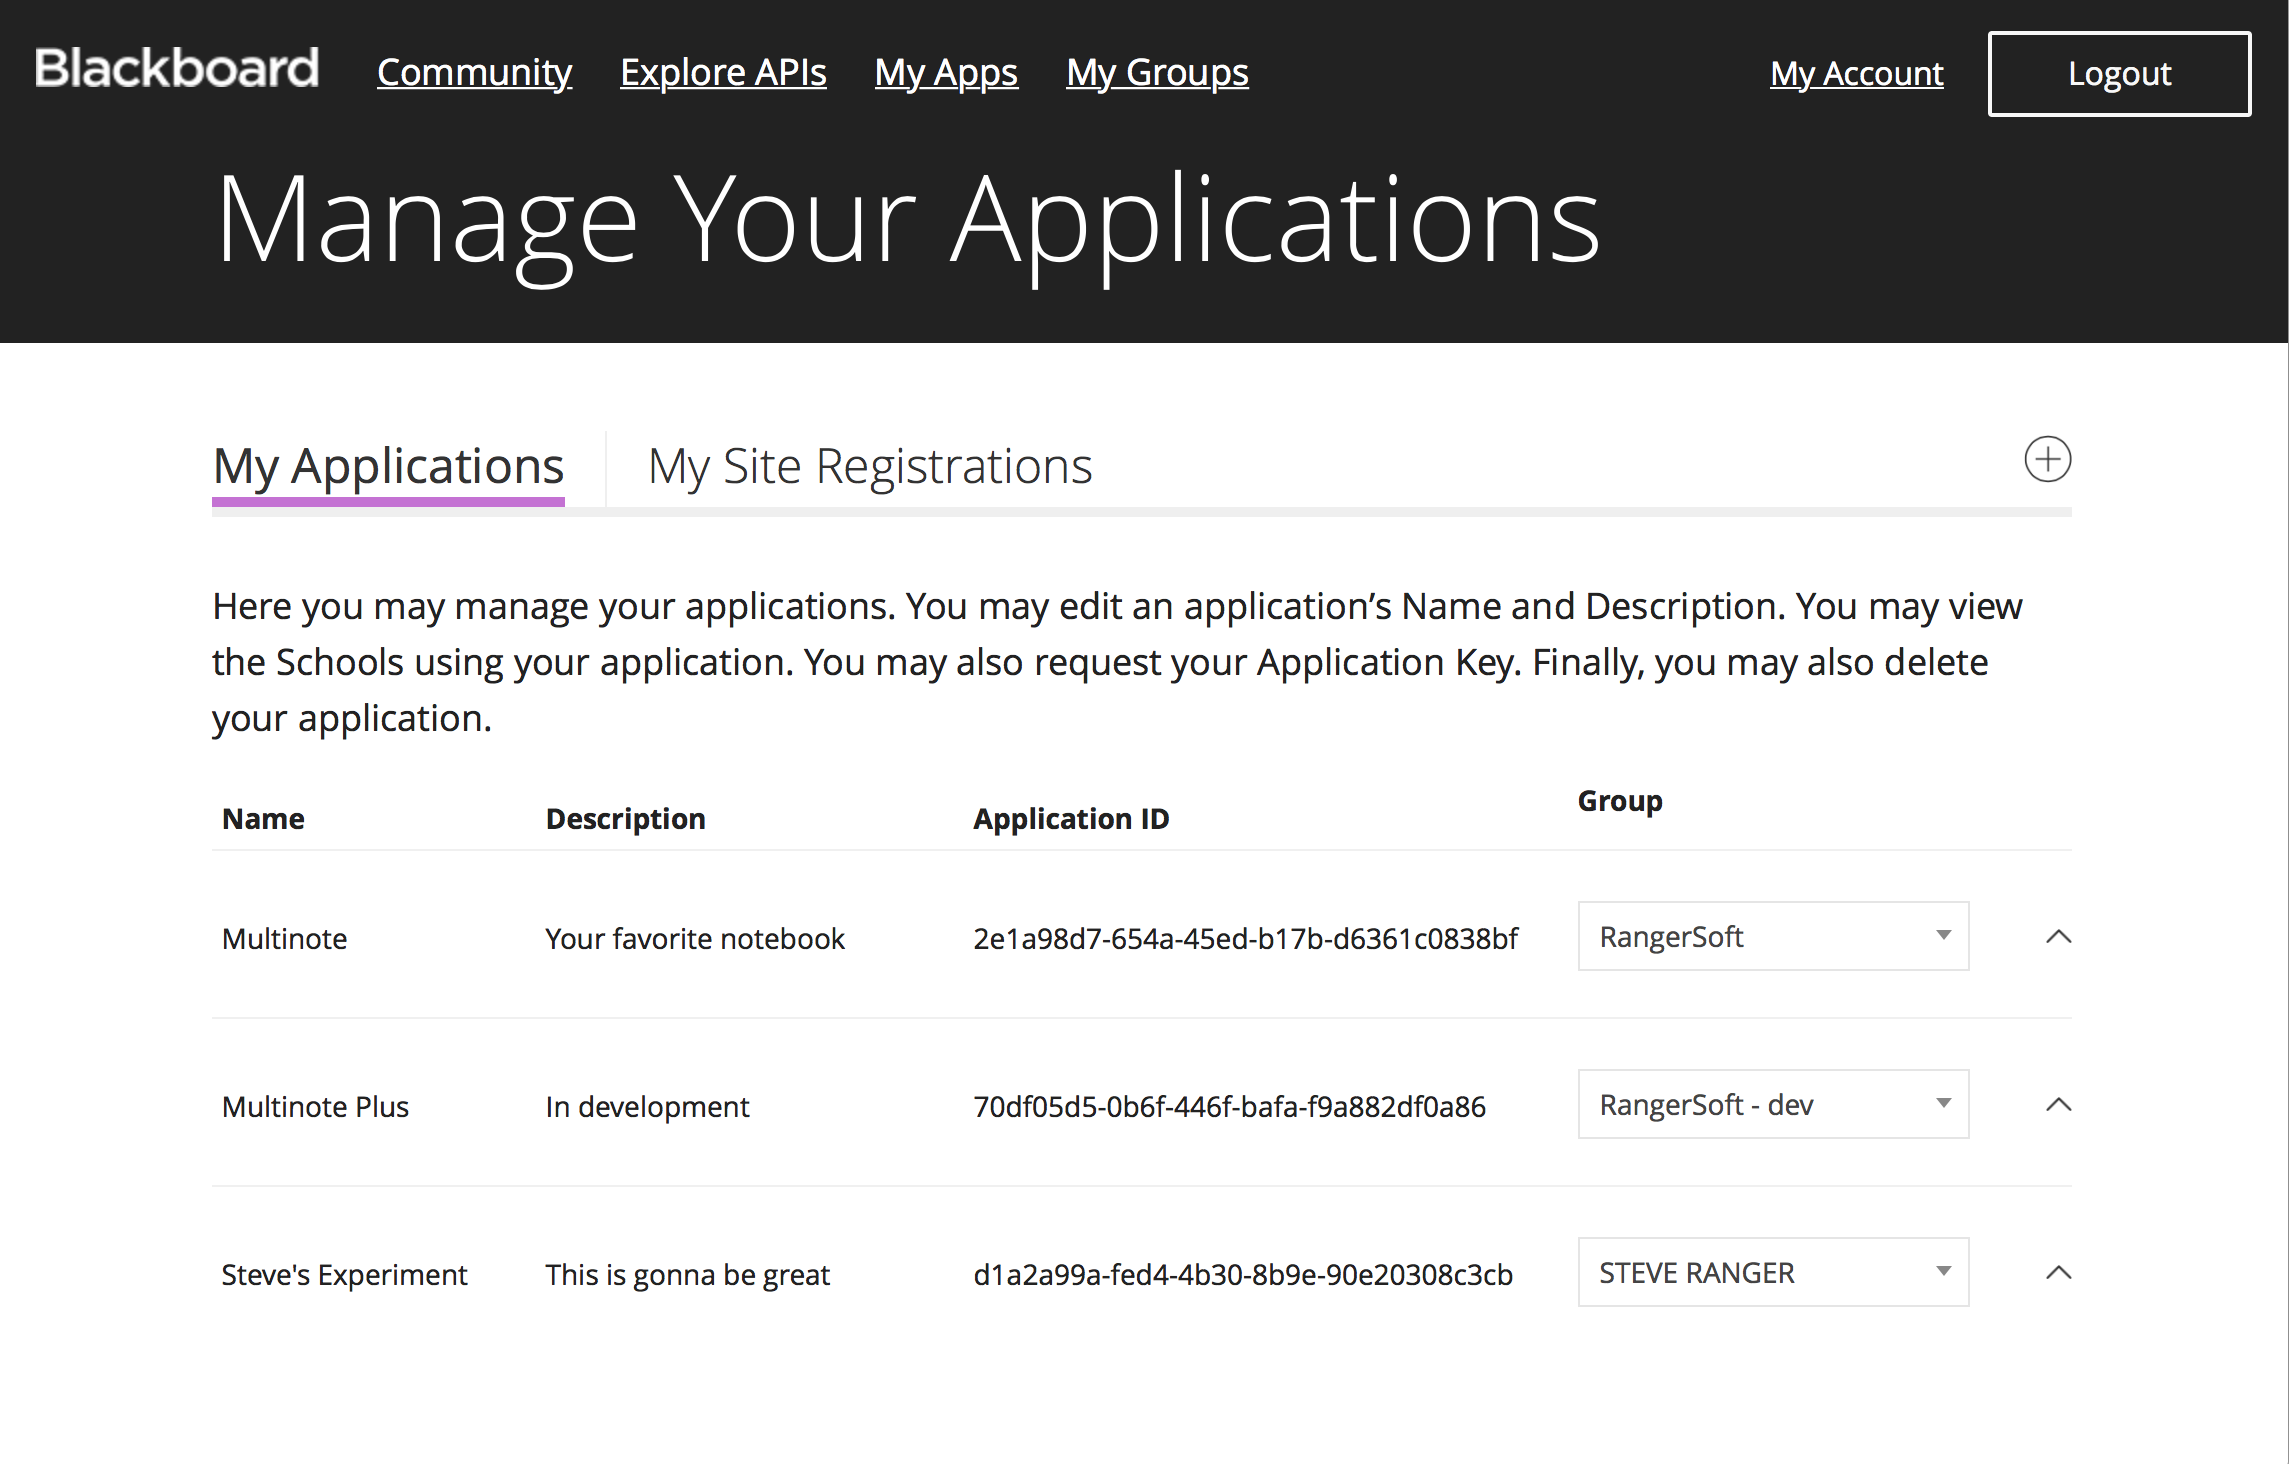
Steve’s groups have specific applications associated with them. Steve has his experimental application - Steve’s Experiment - under his personal group. This application may be deleted by using the Trash can icon.
Steve also has an application in development - Multinote Plus. This is under his RangerSoft - dev group. This application also may be deleted by using the Trash can icon.
Finally Steve has a production application - Multinote. This is under his production RangerSoft group. This application (extra space was here..) may not be deleted. This is to protect from accidentally deleting applications which have been deployed to production environments.
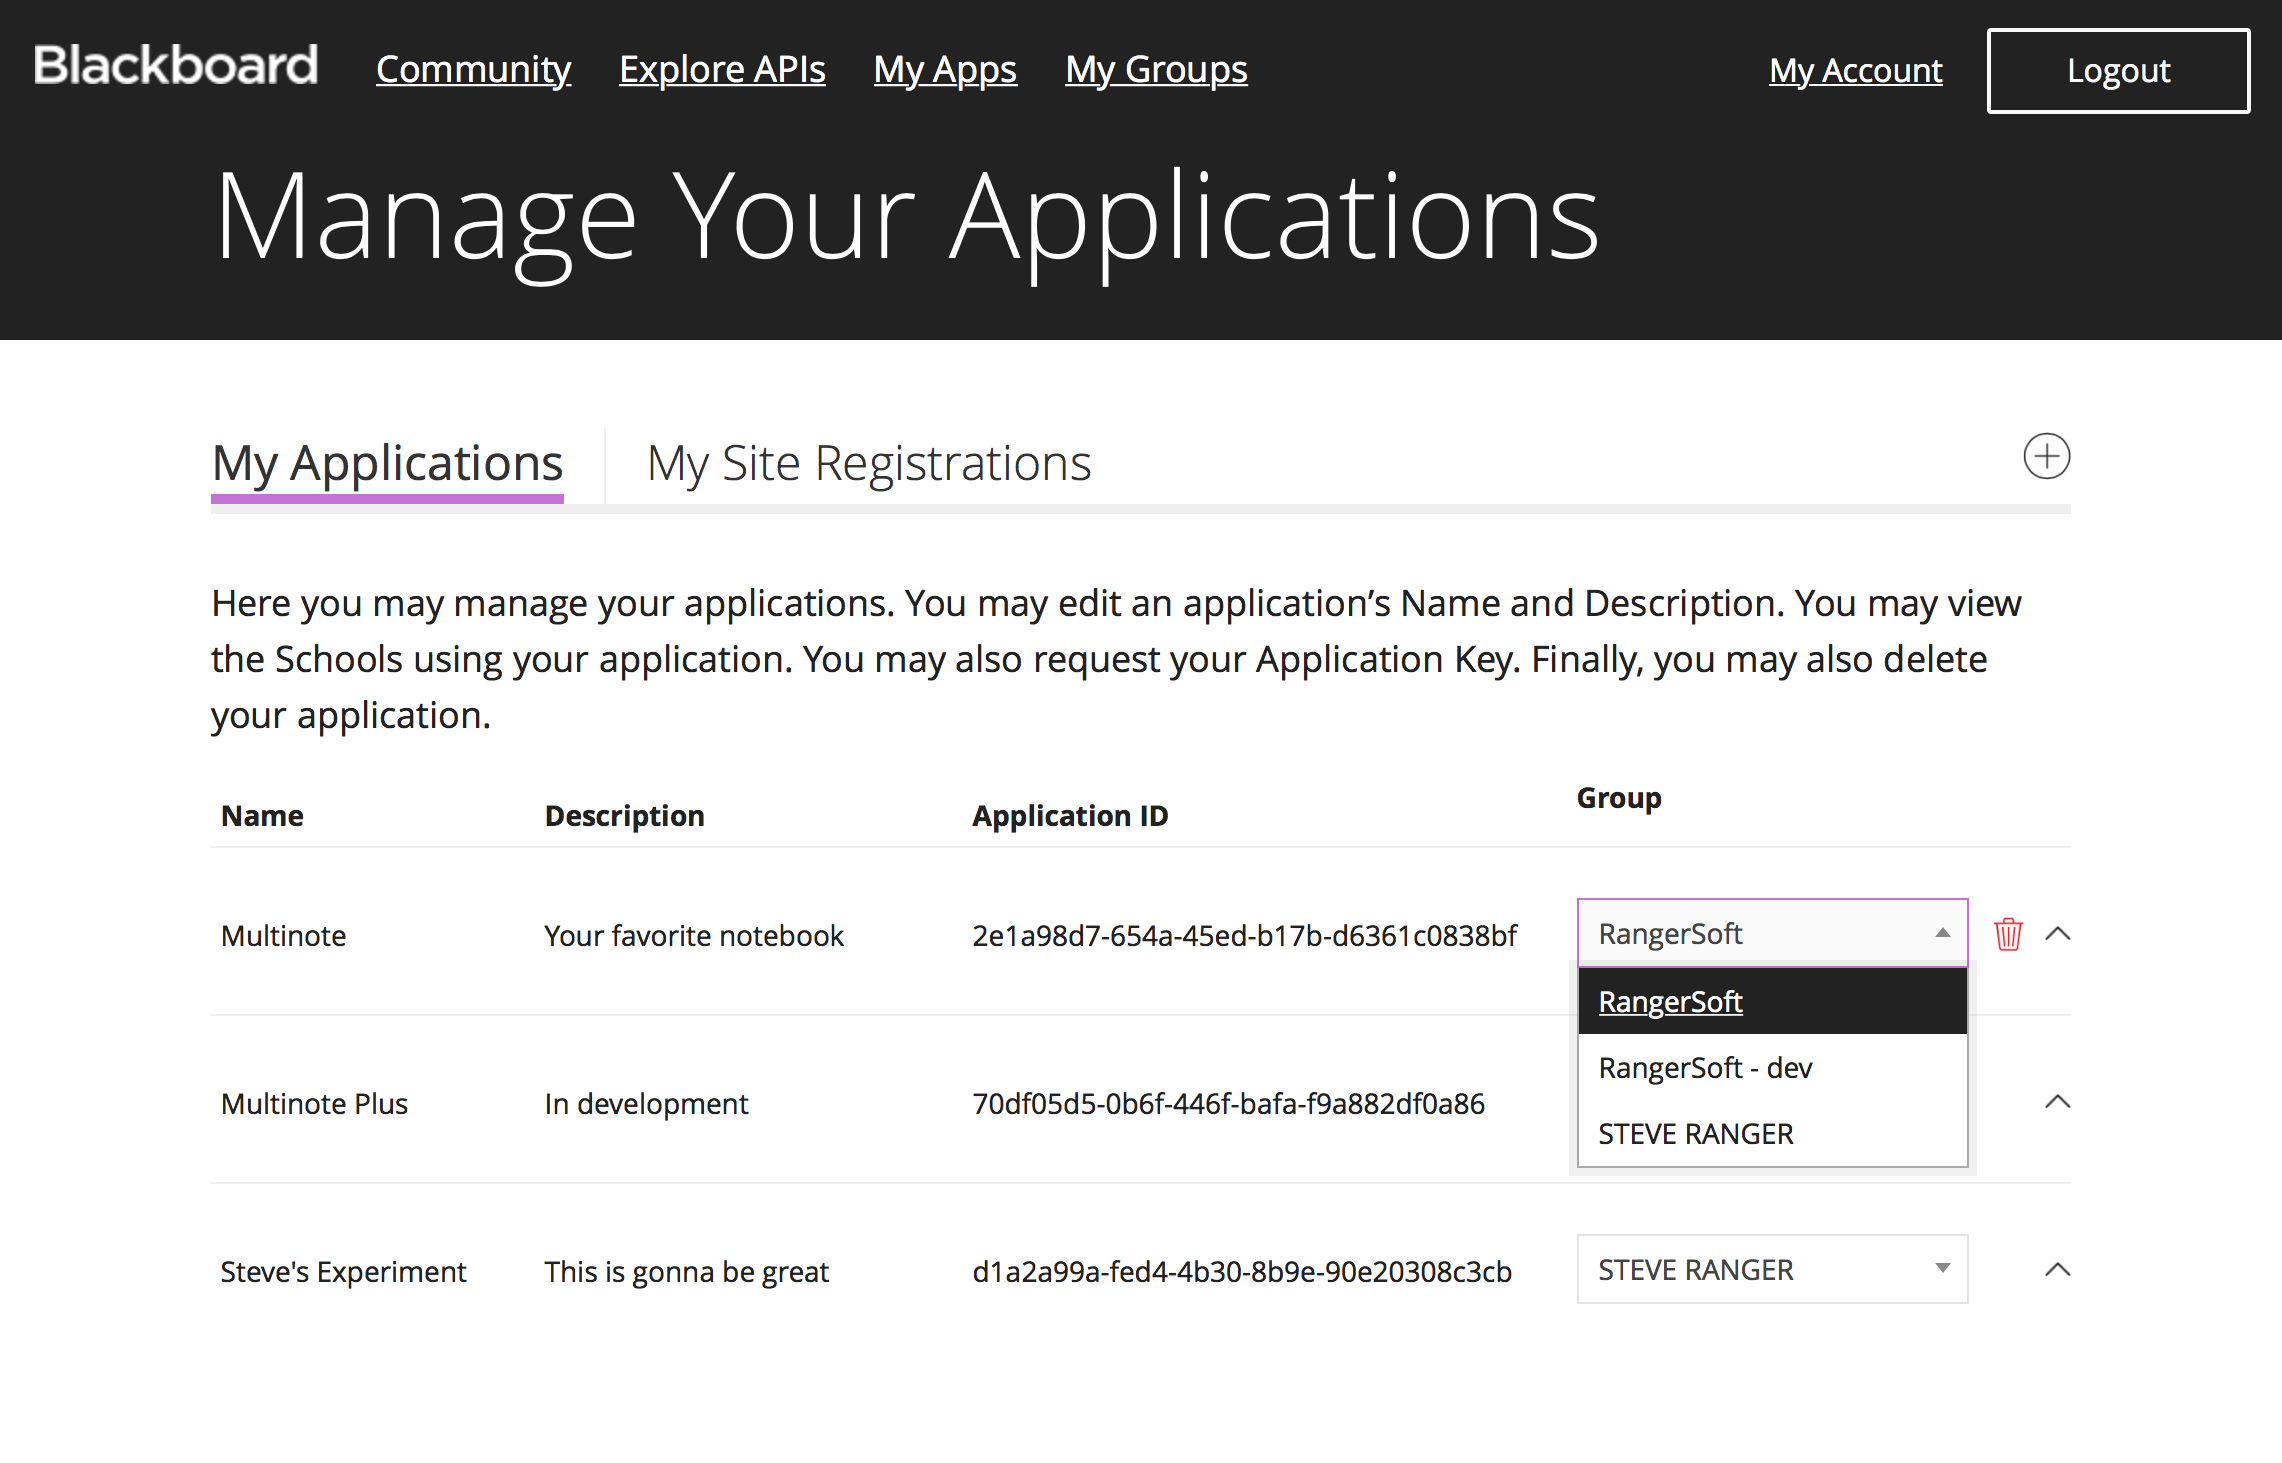
Because Steve has administrative rights he may change the group with which an application is associated at any time. Changing an application’s group from a production group to a non-production group allows for the deleting of that application.
Note that deleting an application will break any deployments. Also note that changing an application’s group may change the rate_limit for that application.
Managing Group Developers
Developers who have been added to groups may see applications that are associated with a group and may also be designated as administrators of a group.
Steve has multiple developers. and Steve wants to add a developer to his production RangerSoft group so he clicks the My Groups link and opens his Groups management page.
He then clicks the Add Developers icon as indicated by the arrow.
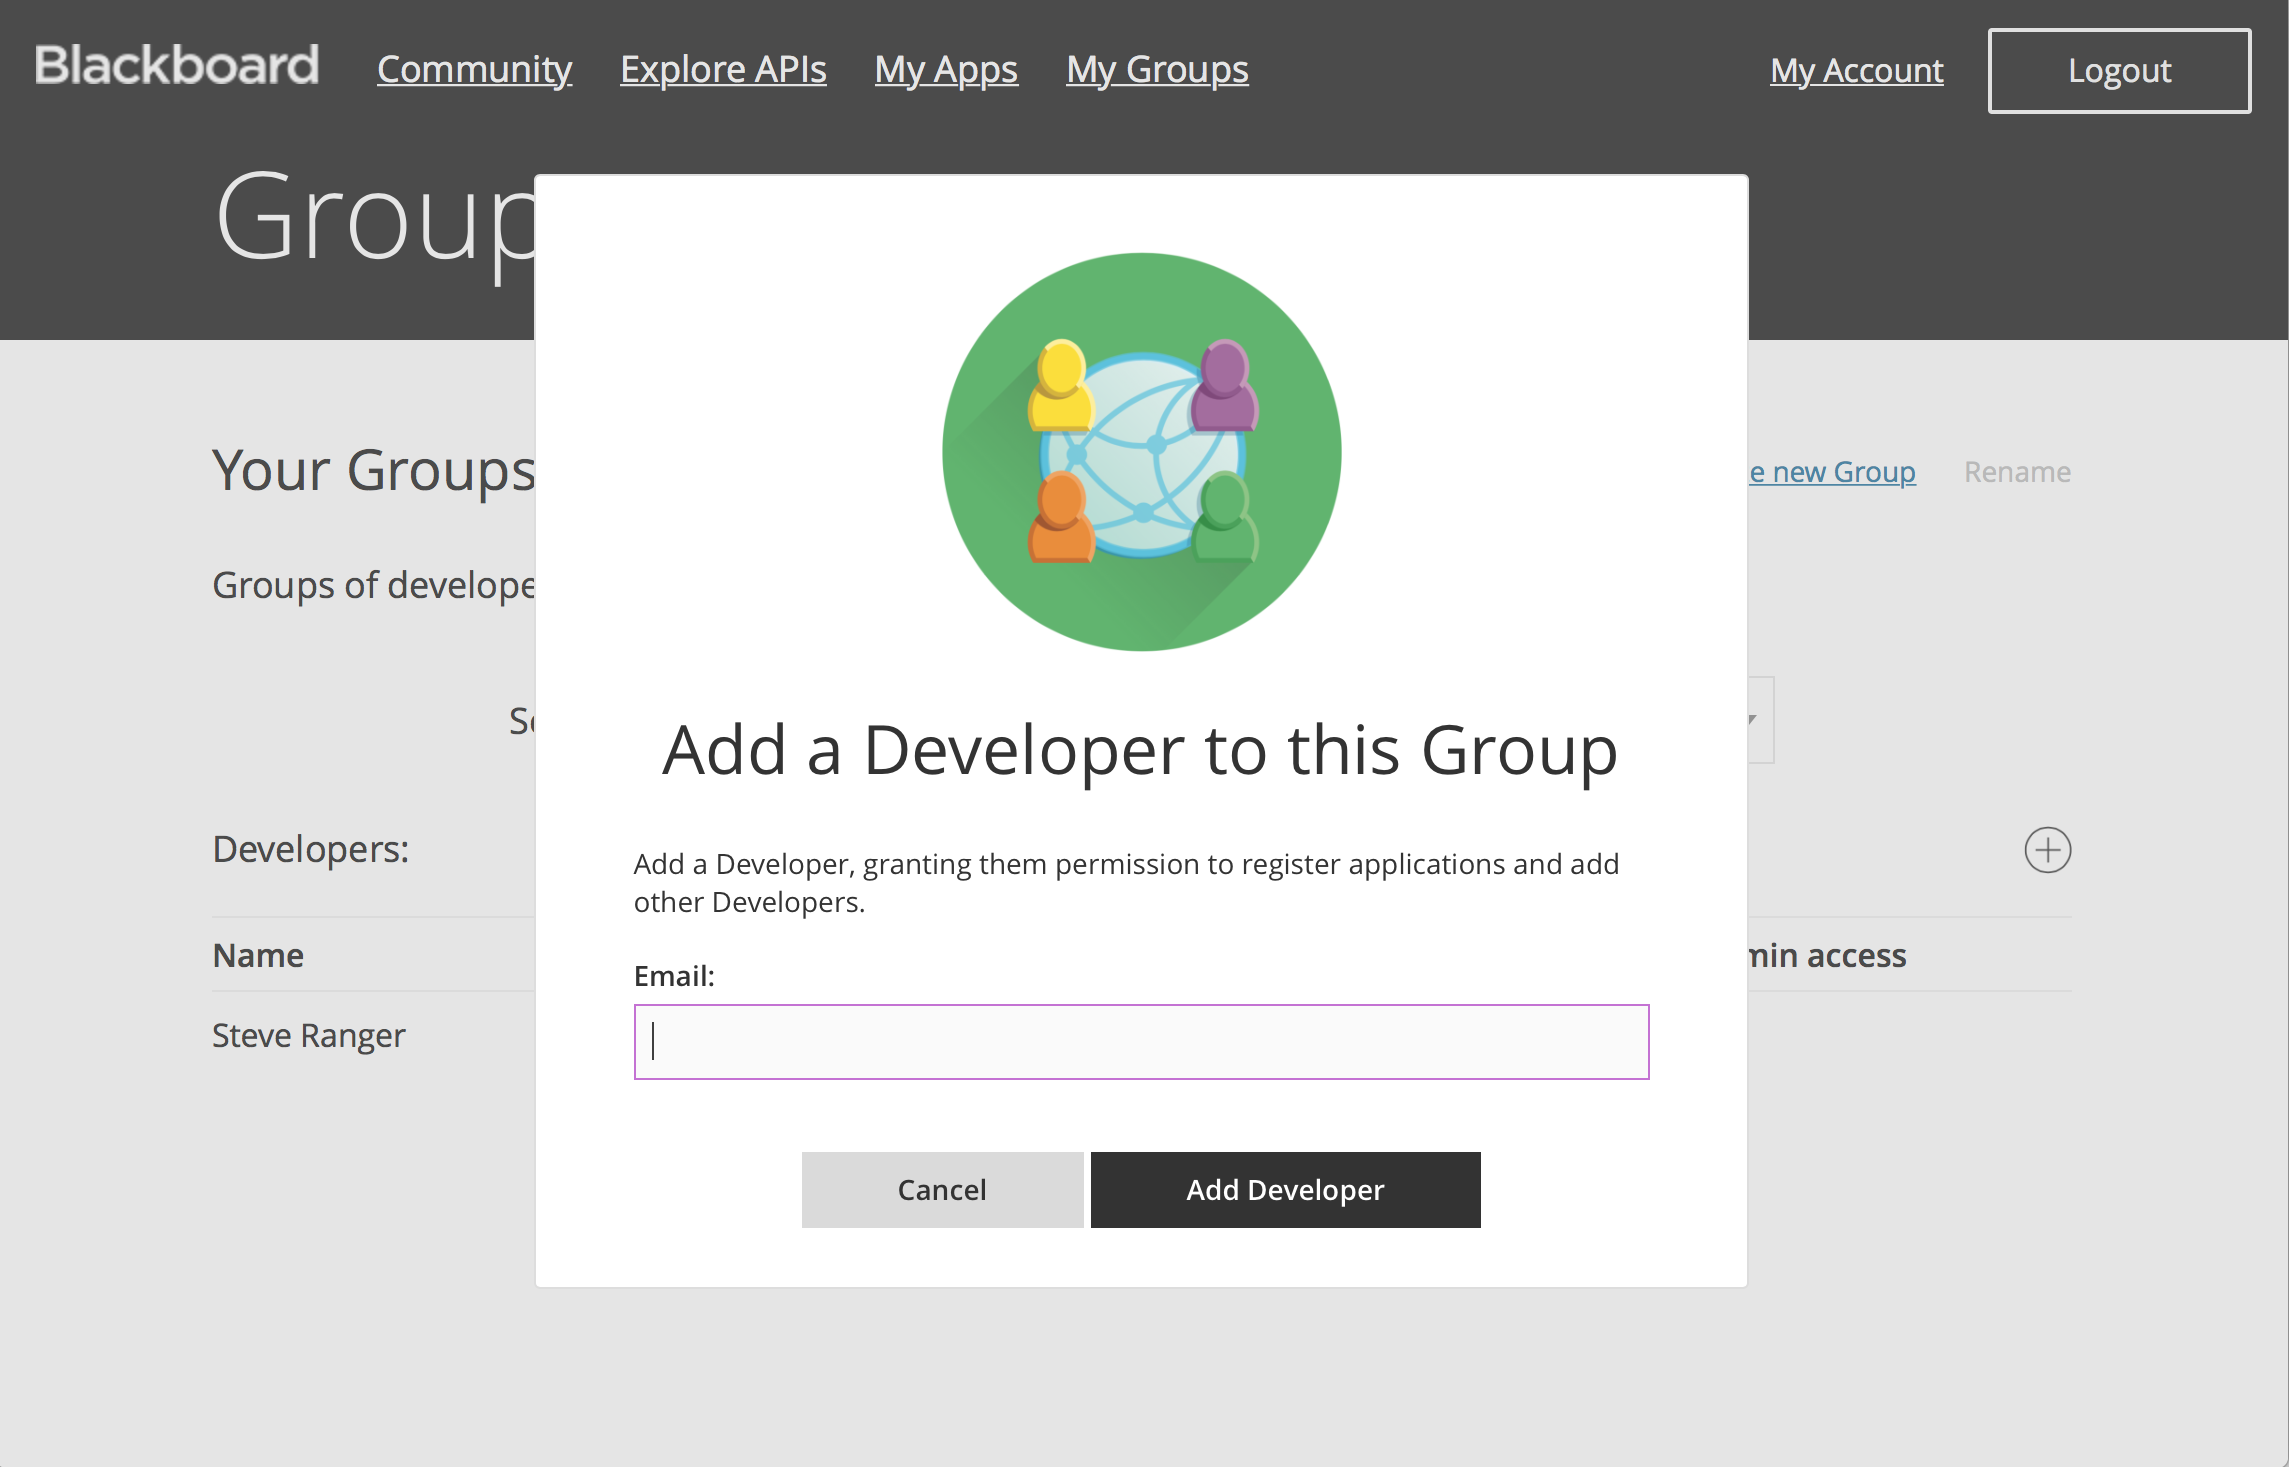
Clicking the Add Developer Icon opens a dialog for entering the email address of the developer he wants to add to his group.
Note that in order to add developers they must have previously registered for a developer portal account and you must know the email address with which they registered.
Steve enters the email address for one of his developers and clicks the Add Developer button.
Adding a developer to your group allows that developer to see all your applications. The administrator setting on the developer for a specific group is what enables that developer to manage the associated application
The default when adding a developer is that they have no admin privileges.
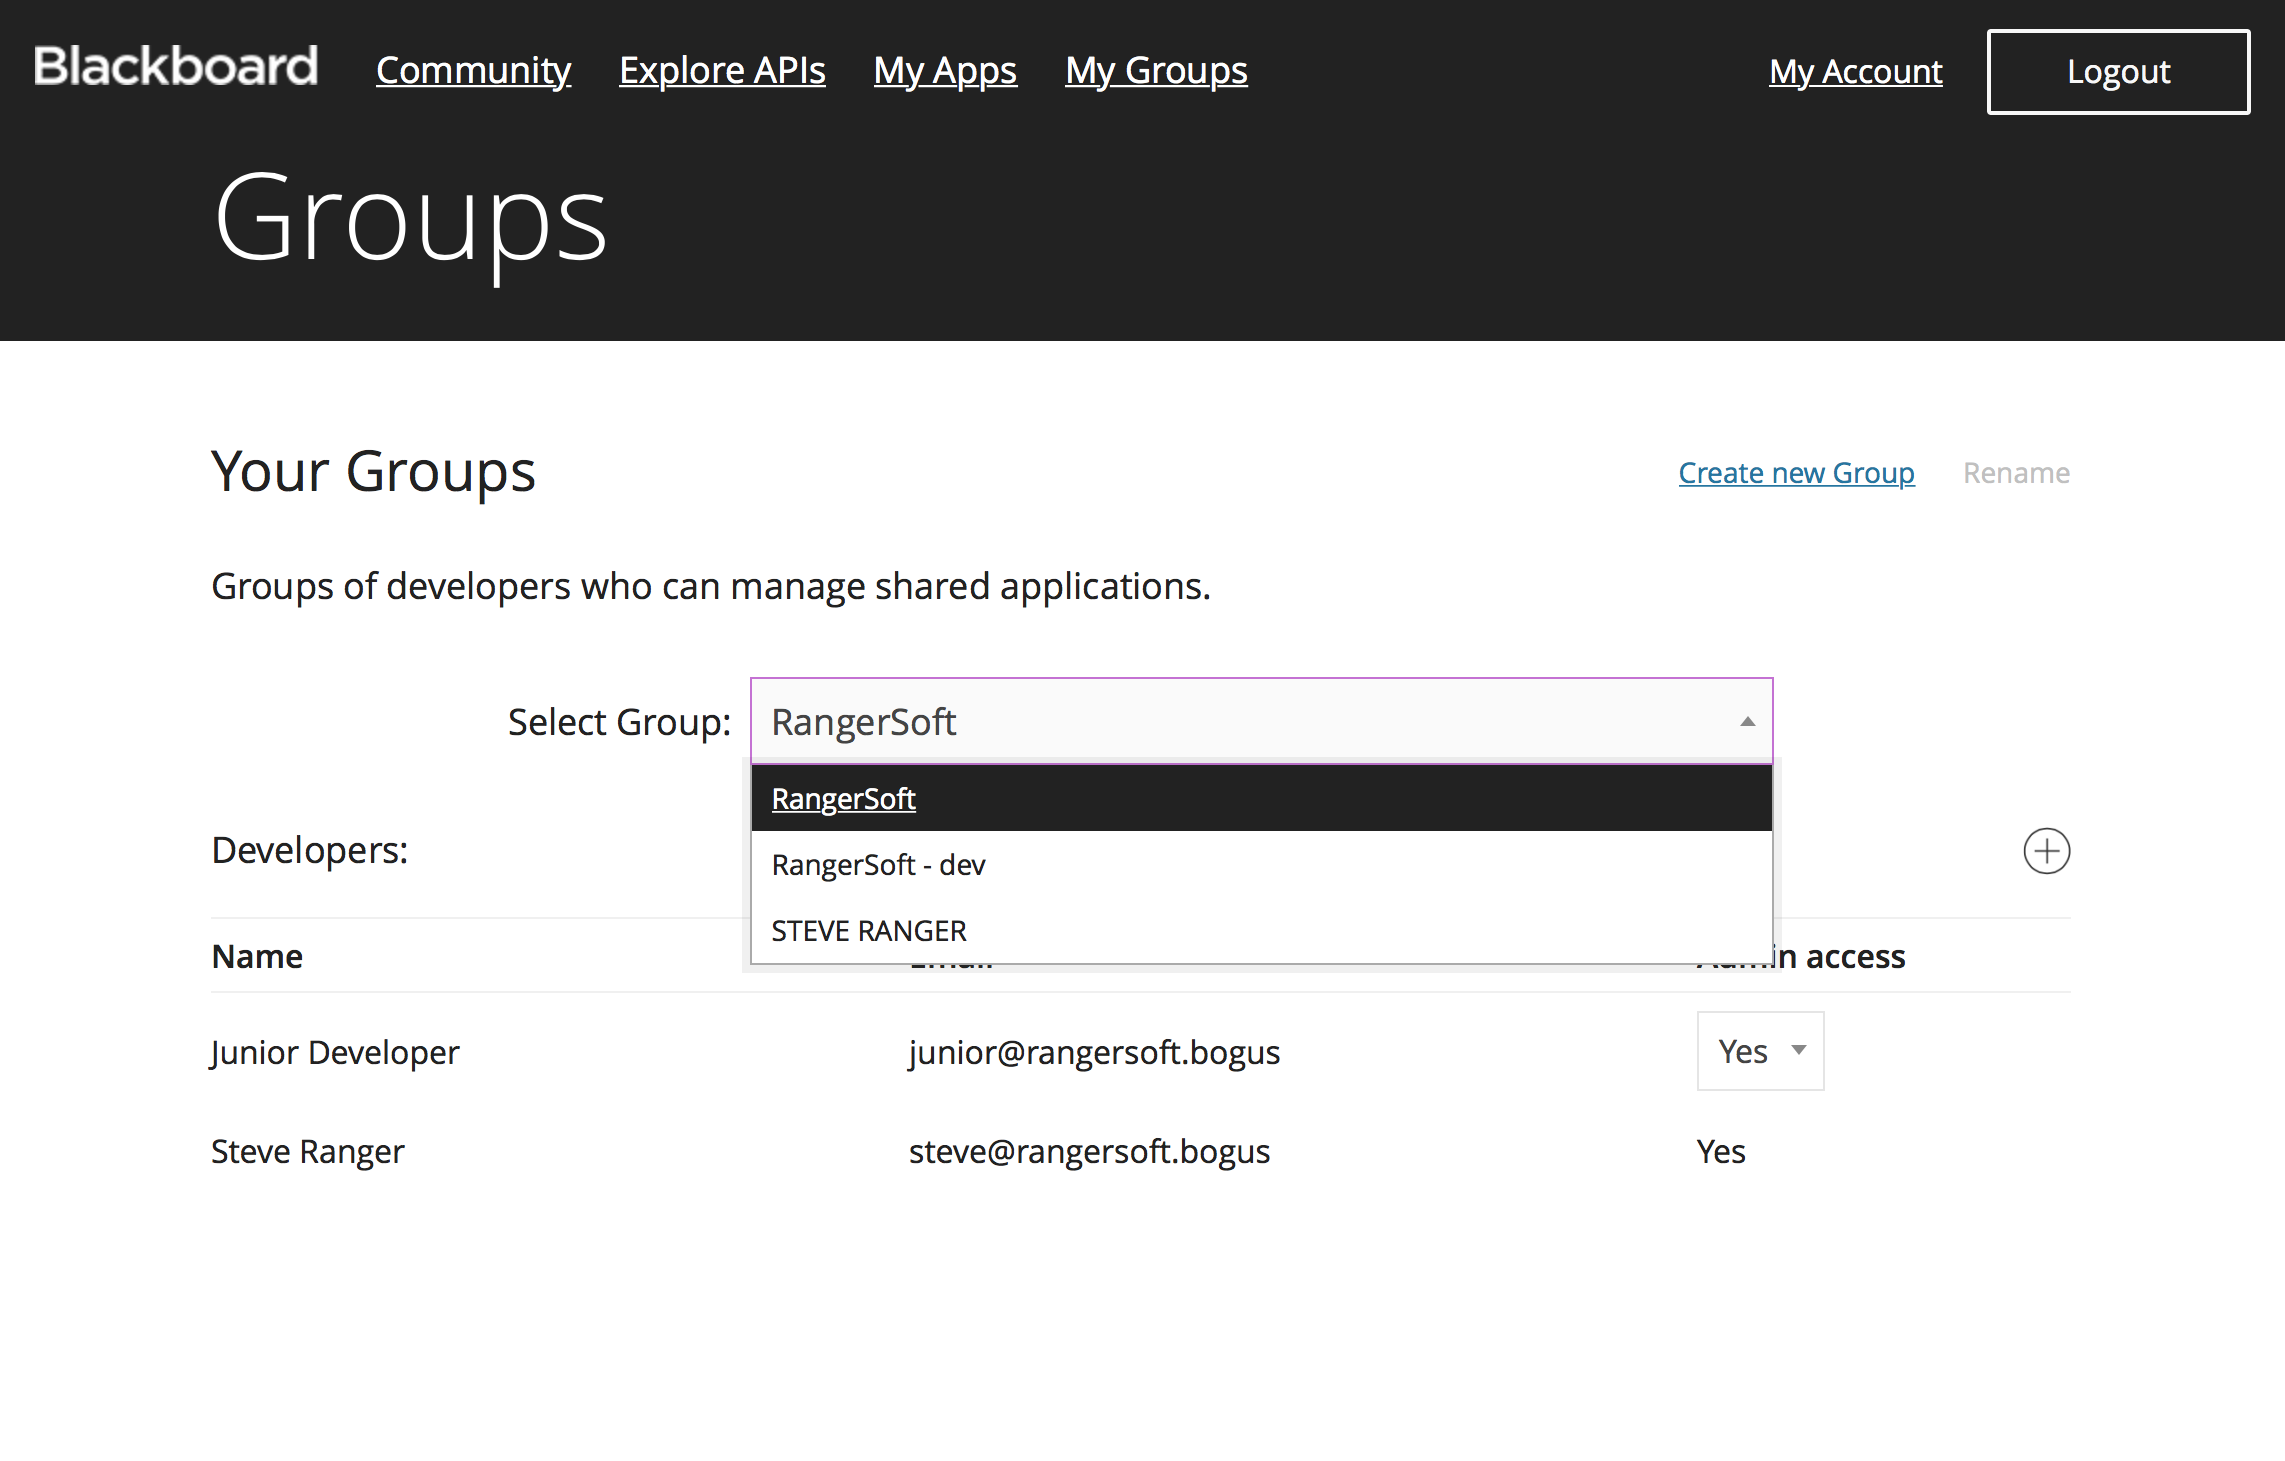
Steve wants Junior to admin the applications associated with the RangerSoft - dev group, so Steve changes to that group and changes Junior’s privileges.
The Developer View
When Junior Developer logs into the Developer Portal he now sees the two RangerSoft groups that Steve created.

Junior may admin the application association for the Multinote Plus application which is associated with the RangerSoft - dev group because Steve made Junior an administrator on that group. Also note that because Steve did not make Junior an admin on the the RangerSoft group Junior has no application admin privileges.